Pros:
- Record specific regions on Screen.
- A quick way to take customizable screenshots.
- Supports recording microphone, system audio.
- Record yourself using a webcam
Cons:
- Not available for Mac or another operating system
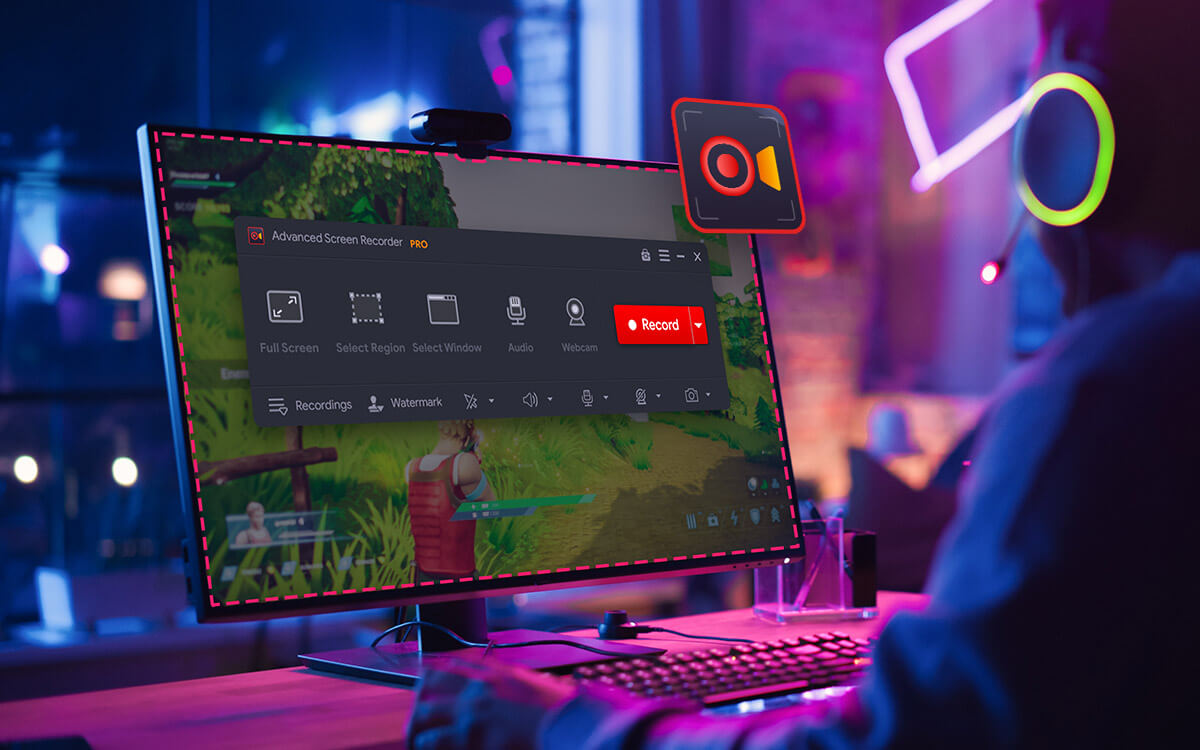
Advanced Screen Recorder is the ultimate screen recording software for Windows PC. It includes various screen recording modes to capture full screen, single window, or specific regions and take screenshots. Allows you to record yourself on the webcam and stream on social media records system audio and microphone to give you the complete package of the best screen recording software. Read on to find out the details in the Advanced Screen Recorder review.
Advanced Screen Recorder is not a typical screen recorder as it offers so much more. The screen recording tool for Windows PC has the inbuilt tools to help you record your screen in various modes. The screen recording in 4K and HD quality is available for the users. It gives you multiple options for customization before you can process your video recording. Along with that, you can capture screenshots in different ways – full screen, single window, and specific region. Advanced Screen Recorder will also allow you to stream live on YouTube and Facebook while screen recording, isn’t it amazing?
Moreover, this is the best option for you if you are looking for game recording software. As it will easily record the system audio, microphone, webcam, and system overlay as well. Advanced Screen Recorder software not only allows you to record the mouse click, pointers but gives easy access to customize the video quality. This supports several video formats such as MP4, Flv, Avi. Find out more about this in detail in this blog where we review Advanced Screen Recorder.
There are so many reasons to choose this best screen recorder software for your Windows PC. We are listing out a few of them for you.
Interface
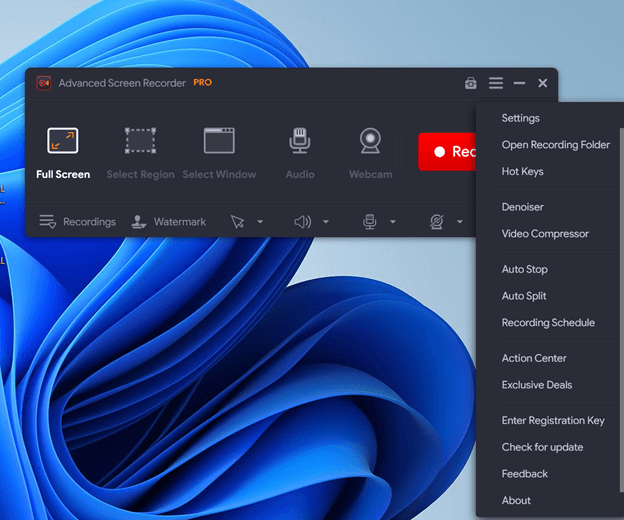
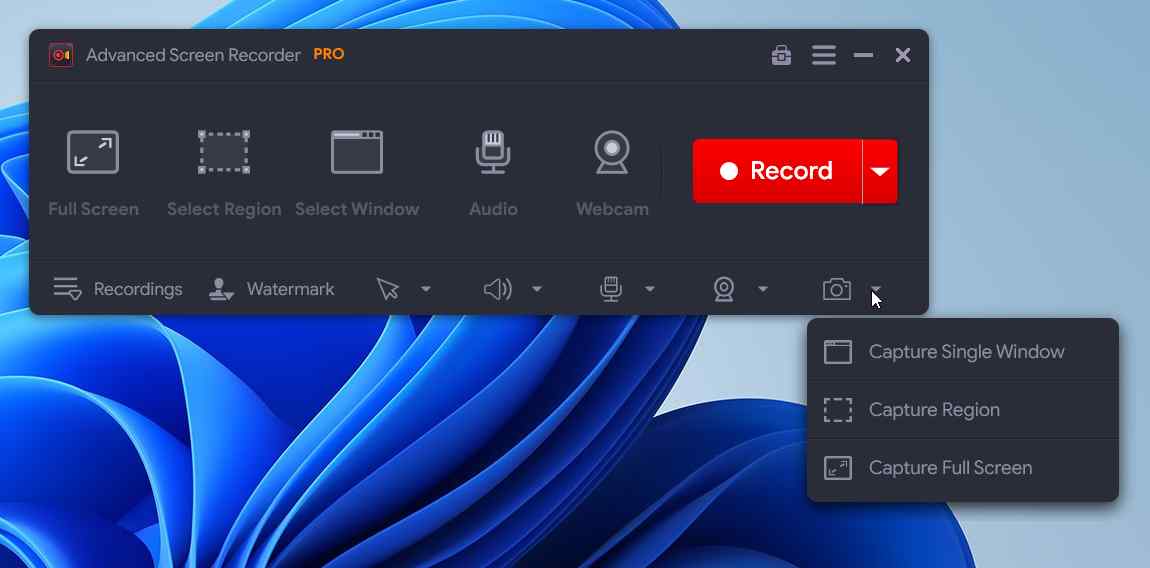
Advanced Screen Recorder has a straightforward interface and you can easily navigate around it. It has mentioned the selection of screens for recording on the main screen. This can help you take screenshots from the Camera icon, change settings for various devices. You can hover over the icons to read their names. The Menu bar icon on the Top-left helps you with the rest of the Settings, Product information, Updates, Exclusive deals, Feedback, etc
Features
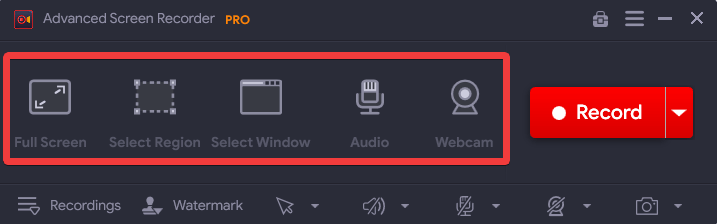
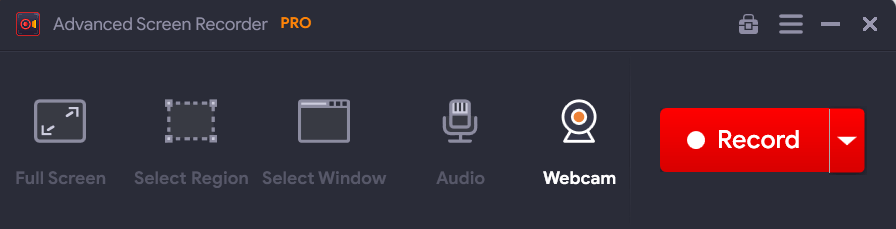
There are 4 modes available on the main screen of the tool to help you record the screen on Windows PC. Namely – Full Screen, Select Region, Select Window, and Webcam.
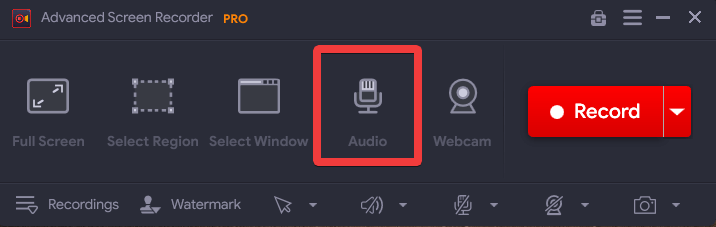
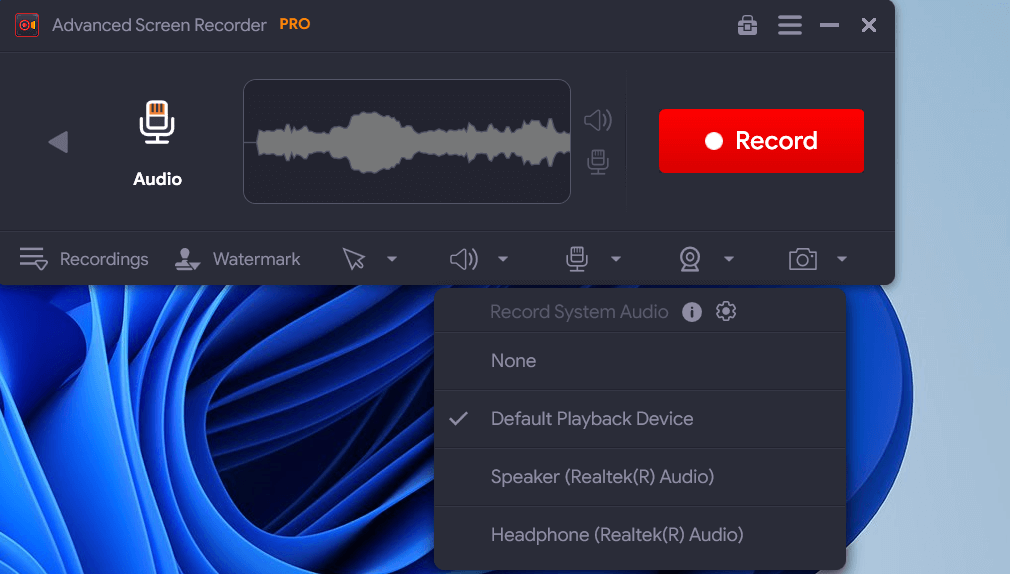
Advanced Screen Recorder allows you to record the audio provided you have attached a microphone to the computer. It can also record the system audio which helps make tutorials, game recordings easy.
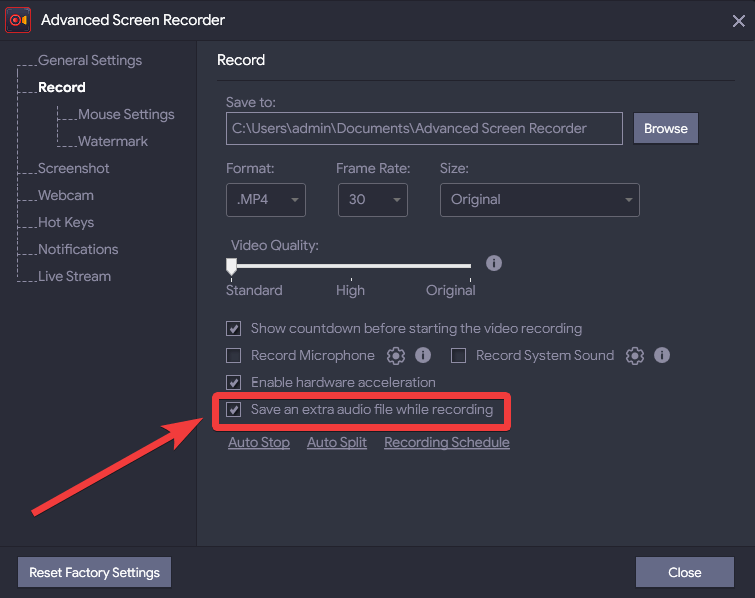
Additionally, you can now save the audio file from the screen recording separately on your computer. To enable it, Go to Menu> Settings> Record and check mark the option in front of Save an extra audio file while recording.
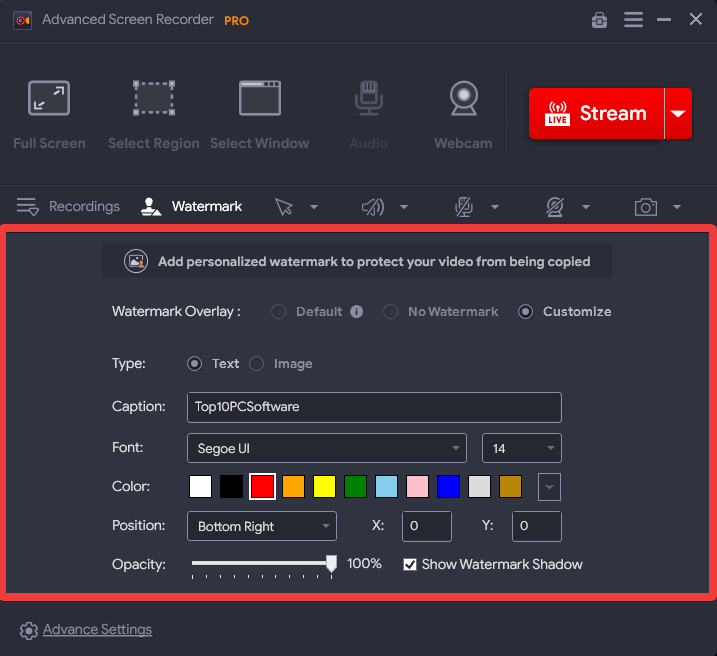
With the option to add a customized watermark, you can save your screen recordings from infringement. You can also choose to add or remove the watermark. It gives you an option to add a text and image as a watermark on your screen recordings. You can select font type, font color, font size, position, opacity, shadow for your customized watermark.
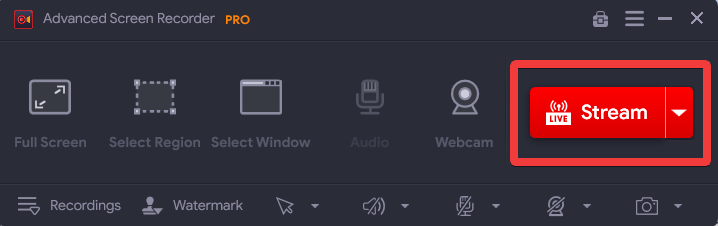
To live stream using Advanced Screen Recorder you need to follow a few steps – Go to the drop-down menu and select Stream. Now, click on the Stream button, which will direct you to the Live Stream Settings. Here you can select the Stream Service out of the two options - Facebook and YouTube. Then you can enter the Stream Key from your YouTube Channel or Facebook Page.
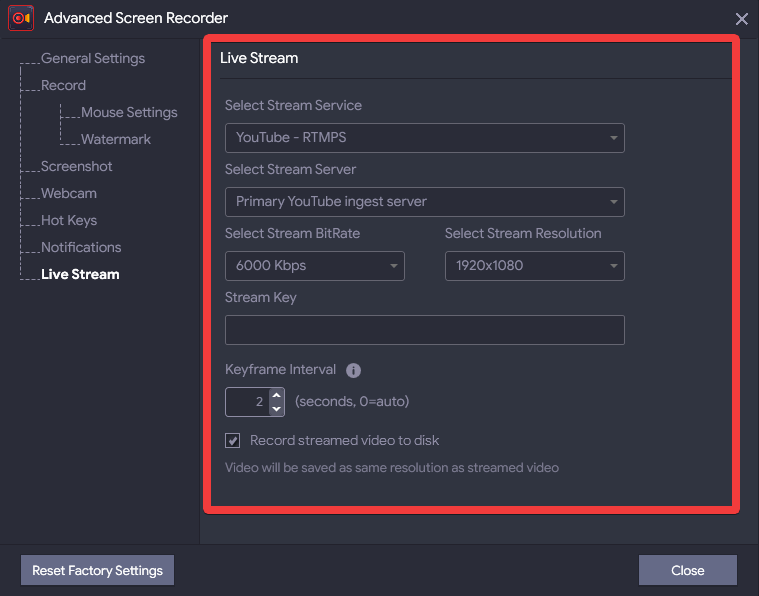 You can also mark the Record streamed video to disk to record the Live Stream simultaneously.
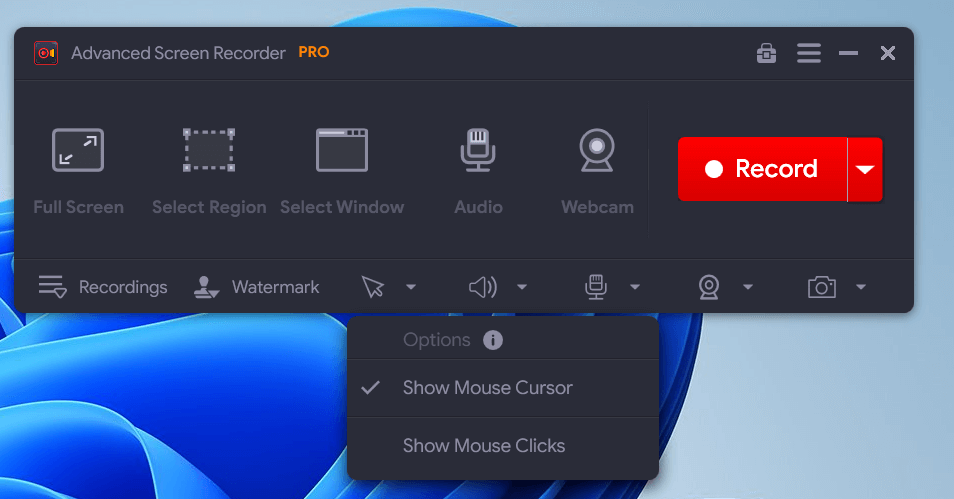
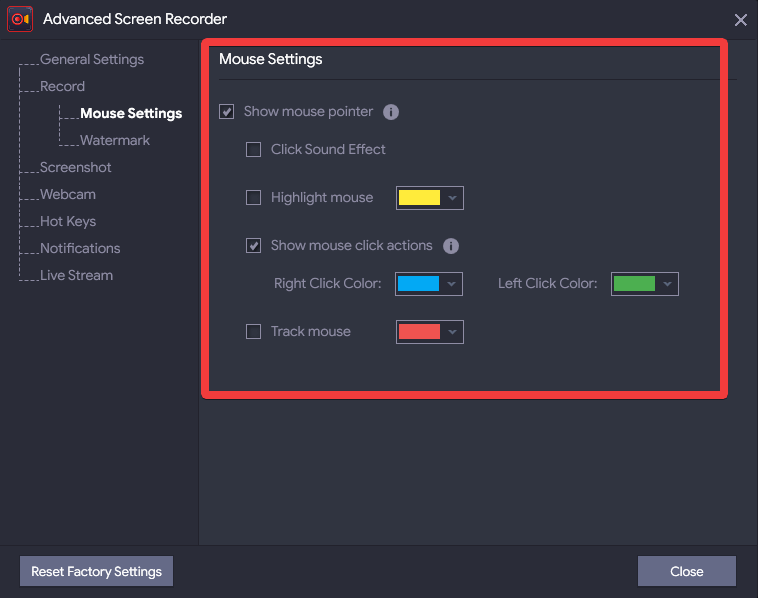 It allows you to show the mouse cursor and mouse clicks in the video recording if you select it. The mouse cursor and clicks can be used to highlight or point out the specific things in a screen recording. Go to Menu> Settings> Record> Mouse Settings. Here you can see more options to make the mouse pointer colorful and add sound to the mouse clicks.
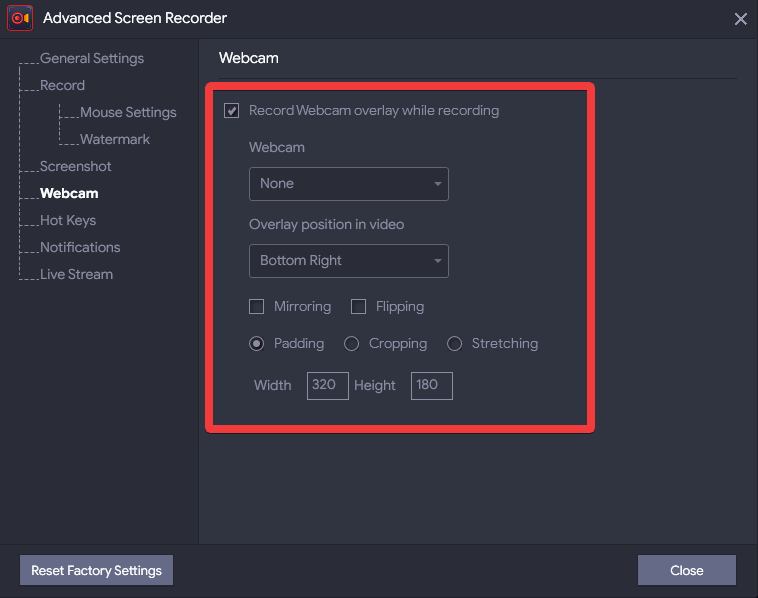 This option makes it the best game recording software which can show your commentary along with the game playing skills. This can also be used in other tutorials and guides where you need to show yourself in the presentation.
 Take different types of screenshots of your computer screen – Capture Single Window, Capture Region, and Capture Full Screen.
 The video quality can be changed according to your choice. Go to Settings and then click on Format, Frame Rate, Size, Video Quality for changing the specifications from the given options. Advanced Screen Recorder gives you the option to record your video in 4K and HD quality.
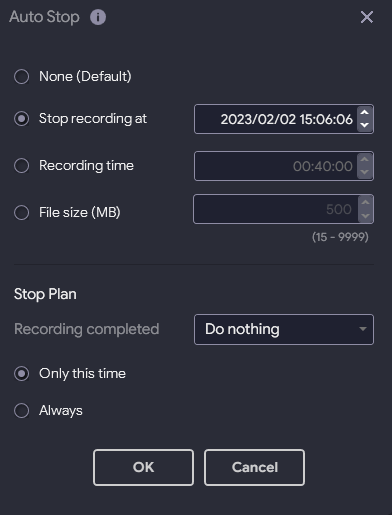 The Auto Stop feature on Advanced Screen Recorder gives you an easy way to automatically stop the recording on your computer. There are multiple options for it – Stop Recording by time, File size or at given time.
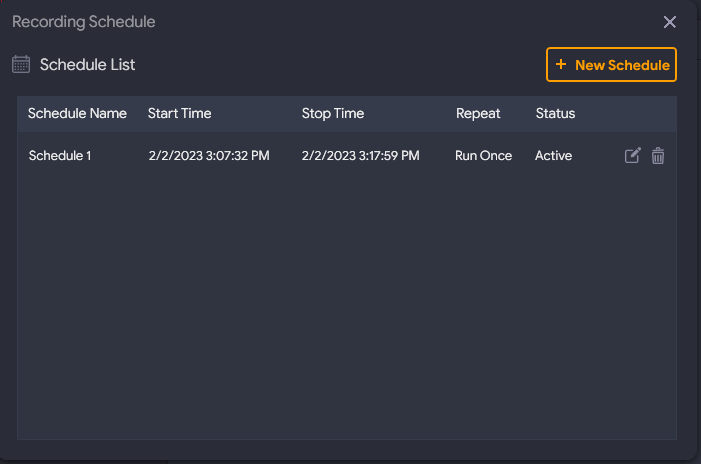 You can easily schedule the recording on your Windows PC using Advanced Screen Recorder. It is a very useful addition to the tool which will allow users to pre-schedule a recording of the screen. Go to Settings > Record > Recording Schedule > Add Schedule to add the name, Start Time, Stop Time, Repeat frequency to your scheduled recording.

If you are worried about the file size limit for uploading the recorded video at any platform, Advanced Screen Recorder will help you. As it gives you an option to predefine when you split the screen recording into different files. The option can be added with respect to the time or the file size limit.
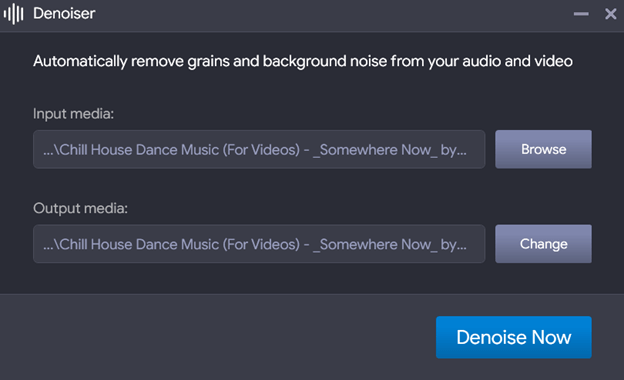
The Denoiser feature of Advanced Screen Recorder lets you get rid of any background noise and grains not just from your screen recordings but from any audio and video files on your PC. Before using the Denoiser feature, you will be prompted to download a third-party component. Once you have done that, you can select the media from which you wish to remove the background noise and click on the Denoise Now button.
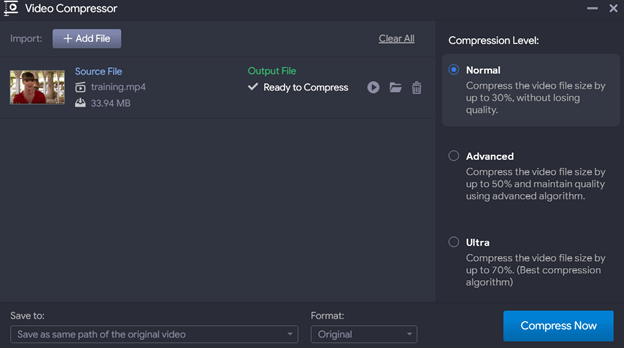
The Video Compressor feature helps reduce the size of large videos. As can be seen from the screenshot above, you can choose how much you want to compress the video file size. Additionally, you can choose the output folder where you want to save the compressed video and the format you want to save the video in. To compress a video you can either click on the +Add File button or drag and drop the file into the interface. Once you have added the video, click on the Compress Now button from the bottom-right corner.
Updates
It provides updates for its interface and adds new features frequently in accordance with the users. It notifies you when an update is available with a prompt on your screen. However, you can also go to the tool to check for updates. Go to the Menu bar on the top-right corner of the tool, click on it and then look for the Check for Updates option.
As you click on it, it will show you any updates from the manufacturer. If available, it will prompt you to update it.
Pricing
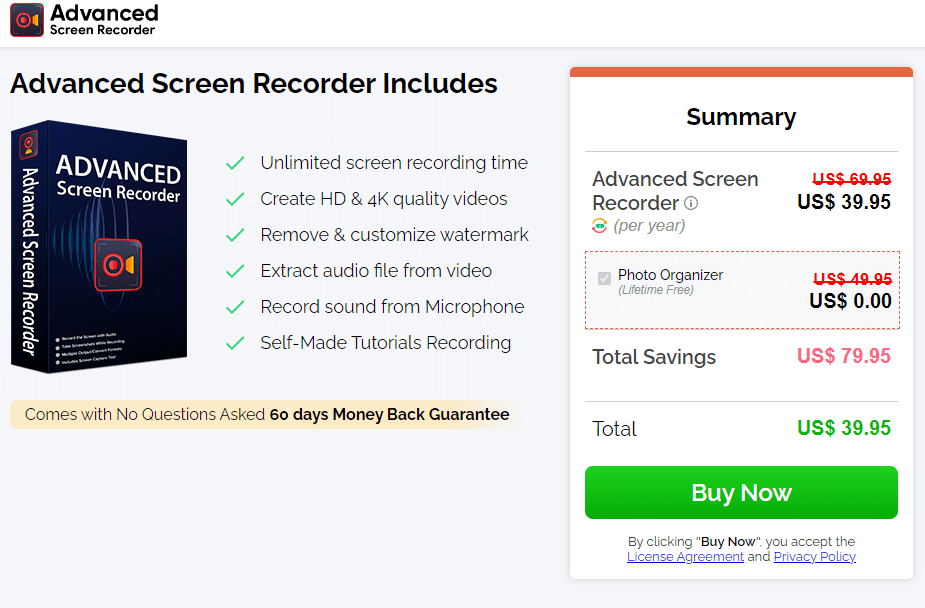
Advanced Screen Recorder will cost you $39.95 for its Pro version with unlimited video recording features. The free version comes with limited functionality and it allows recording video with a 10-minute limit thereby adding a watermark on each video. Although with a limited time of video recording, you can still use the features of the best screen recording software.
Advanced Screen Recorder
| |
Advanced Screen Recorder
| |
Speed
We found Advanced Screen Recorder to be very useful as it works with a good speed. There is no lag detected when taking screenshots or recording videos. You can easily get ready for the recording with the countdown and also customize it as per your needs. The video recording starts and stops as required and it is one of the most important features of the best screen recording software for Windows 10.
Customer Support
Visit the official website for contacting the support for Advanced Screen Recorder – https://www.tweaking.in/advanced-screen-recorder/ 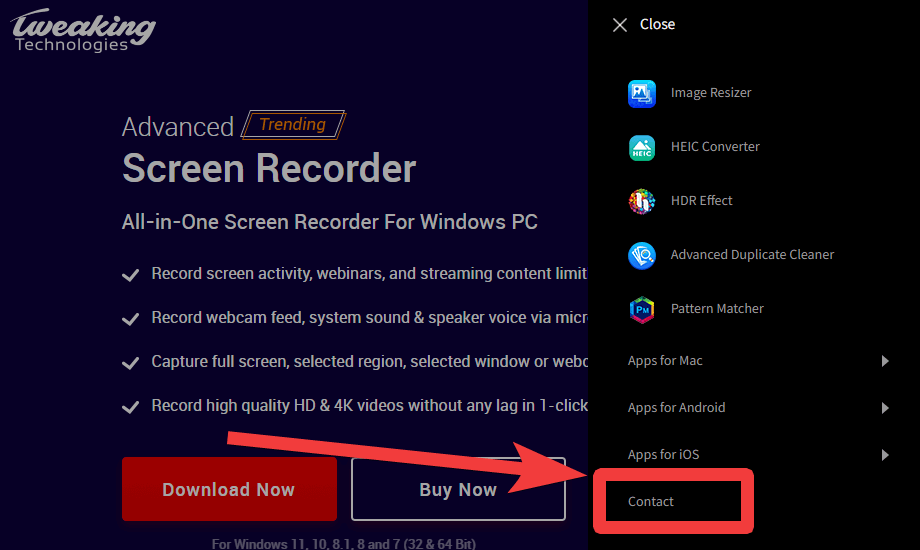 Also, the Help section gives you a detailed insight on the screen recording tool. Within the tool, you can submit feedback related to queries or suggestions. Go to the Menu bar icon of the tool on the top-right corner. Click on it and you can see the Feedback option available here. Upon clicking on it, you will see the Feedback window opened.
Follow the steps given below for easy installation of Advanced Screen Recorder- Step 1: Download Advanced Screen Recorder from the download button given below
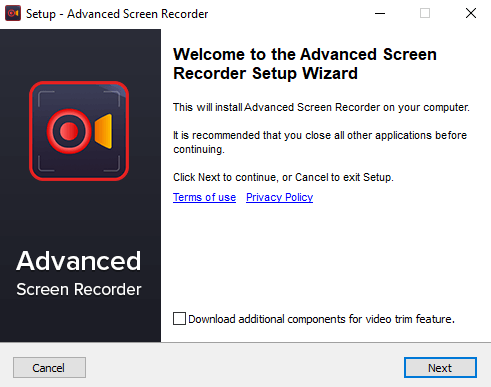
Step 2:Run the setup file. Grant necessary permissions to the tool. As the Advanced Screen Recorder Setup window pops up, click on the Next button to begin.
Step 3: A new window will open and you need to click on Next.
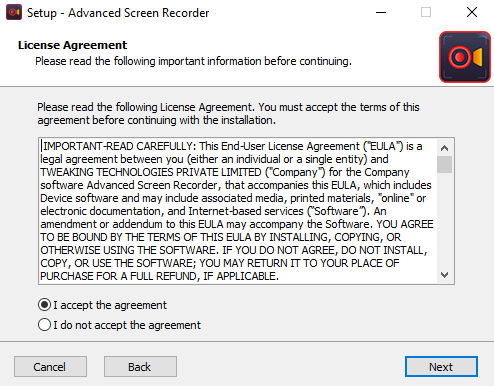
Step 4:Check the agreement of terms and conditions to move further and click on Next.
Step 5: Setup the folder you would like to save the installation and click on Next.

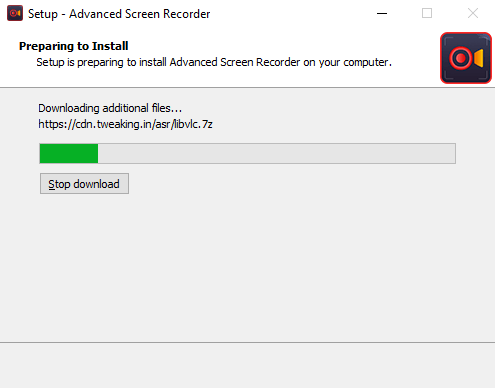
Step 6: The installation process will take a few seconds depending on your internet speed.
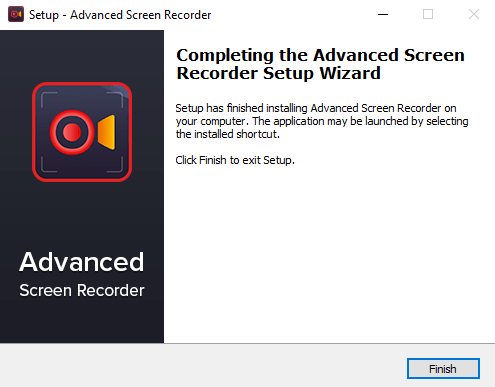
Step 7: Click on the Finish button to exit this installation setup window.
Advanced Screen Recorder is ready to be used and you can see this next window opened. As you begin to work around the tool, click on Start Now.
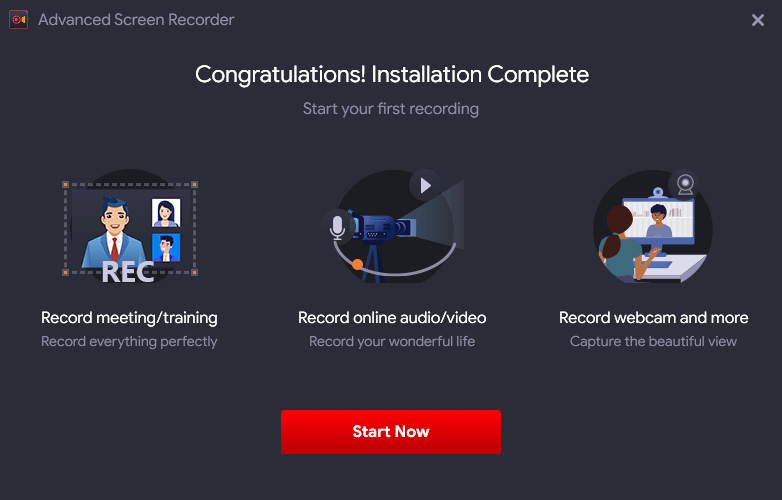
Once again, click on Start Now and the tool will open up on your screen. For further information on Advanced Screen Recorder usage, read the next section
Once you have downloaded Advanced Screen Recorder, let’s learn how it works. We are sharing the easiest steps to learn the functionality of this best screen recorder for Windows PC. Step 1: Start with downloading Advanced Screen Recorder from the download button.
Complete the installation. Refer to the section above for more detailed information
Step 2: Click on the Screen Source, to begin with – Full Screen, Select Region, Select Window.
Step 3: Go to the bottom toolbar for mouse, sound, microphone, webcam, watermark settings.
Step 4: Go to the bottom toolbar for mouse, sound, microphone, webcam settings. Click on the mouse pointer icon to select the Mouse cursor and click display for recording.
Next, you need to check for Speaker Settings.
Similarly you can check the Microphone and Webcam settings.
Step 5: Now to customize the Video quality, click on the Menu>Settings.
Now, go to the Record and here you can select the Video Format, Frame Rate, Size, Video Quality, option to show countdown etc.You can choose 4K, or HD from the Video Quality options. You also get an option to Enable hardware acceleration and to Save an extra audio file while recording.
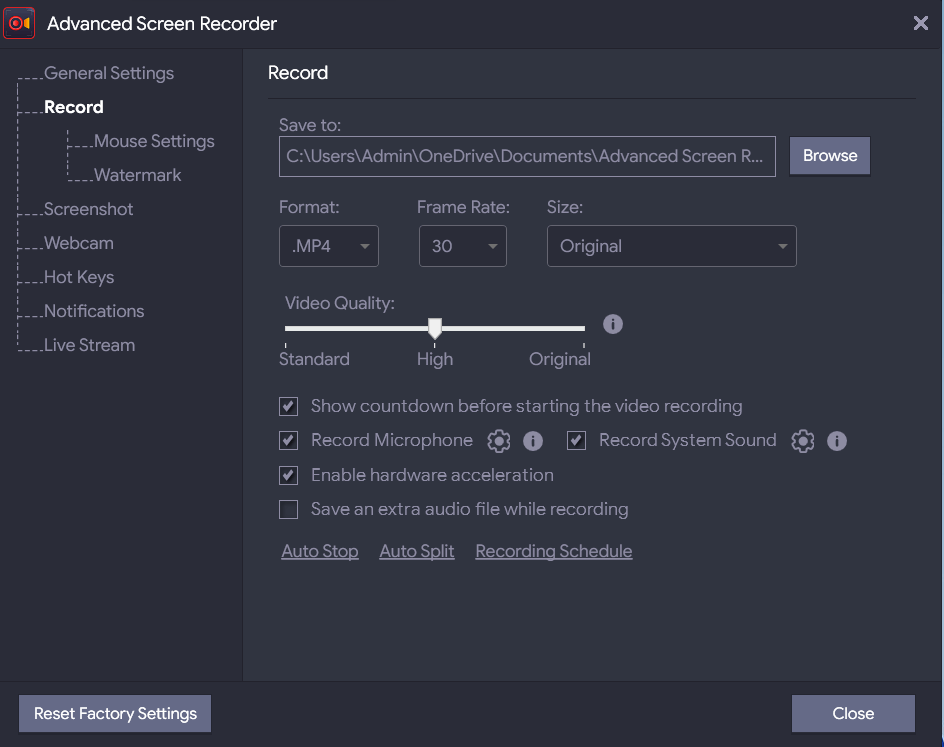
You can also Schedule recording, Auto split and Auto stop. When done with your customization click on Close.
Step 6: Select the region, click on the Record button. Confirm the options in the newly opened window, click on Start Recording on it. 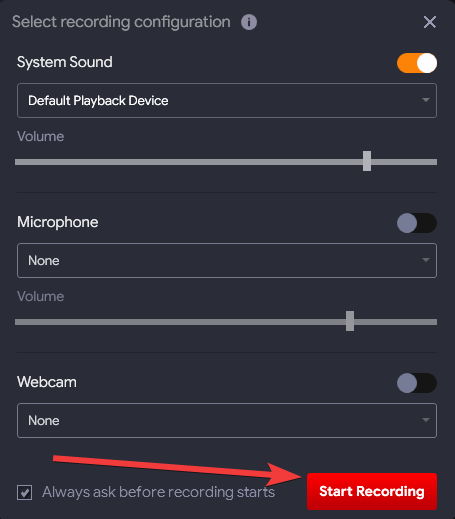
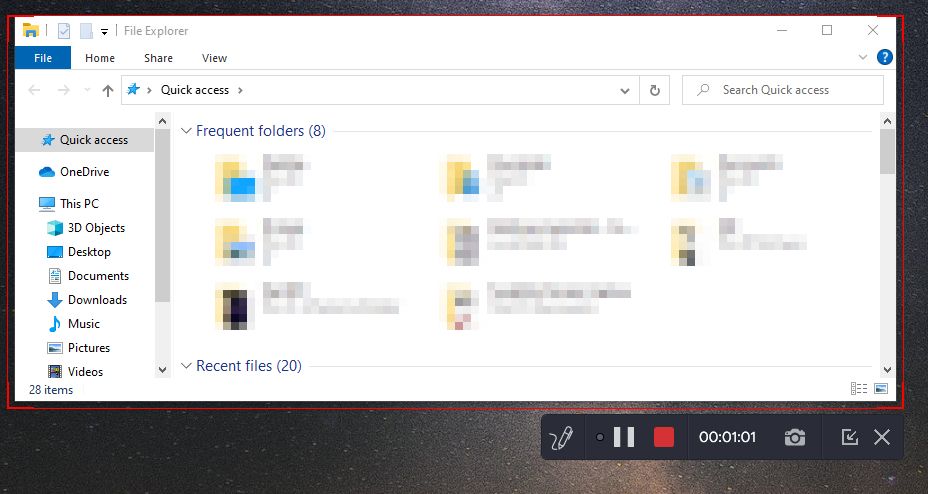
The recording starts after the countdown, you can see a red border on the selected region. This is where the recording will be performed. A tool minimizes into a small bar where you can see the Pause, Stop, Screenshot, Edit buttons along with the recording time.
Step 7: Once you are done with the recording, you can click on the Stop button on the Advanced Screen Recorder bar.
Step 8: It will immediately show you the notification for the video file saved on the location. You can click on it to see the recorded file.
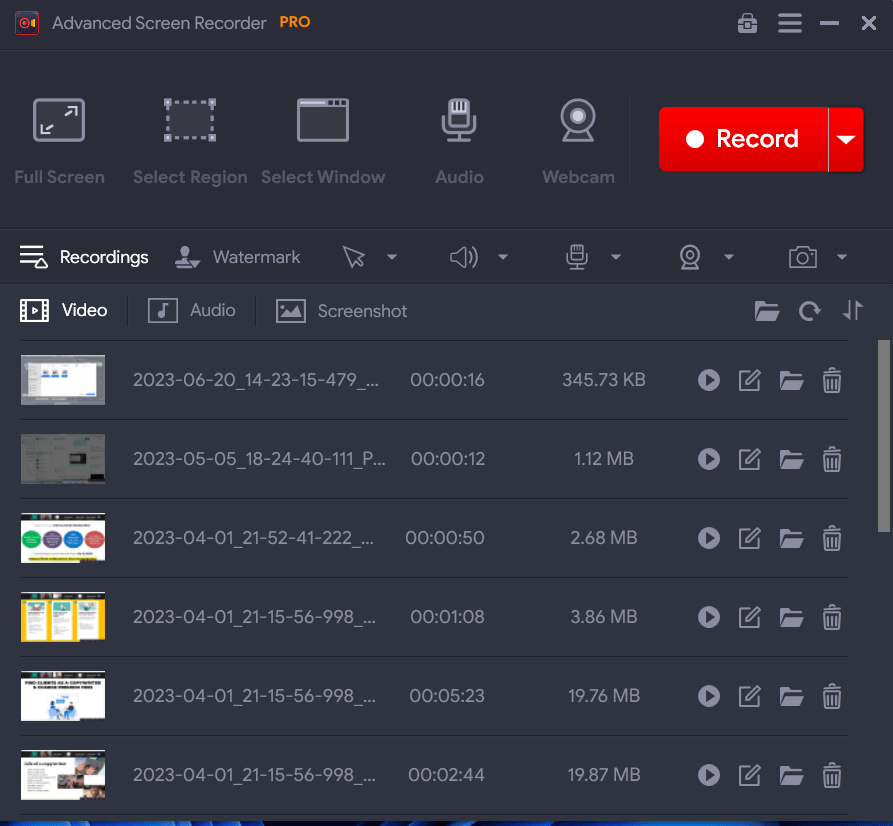
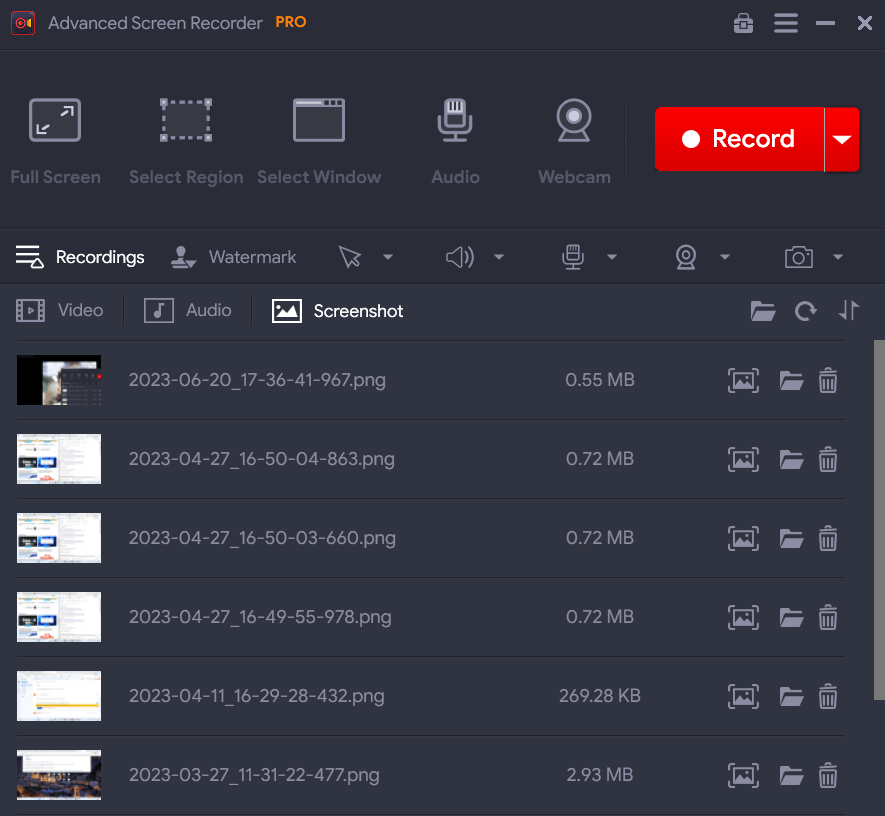
To play the video file, you can also click on the Recordings button shown on the Advanced Screen Recorder.
Step 1: Download Advanced Screen Recorder and complete the installation.
Step 2: Launch the application and go to the Camera icon on the extreme right bottom of the tool.
Step 3: Now you can see three options – Capture Single Windows, Capture Region, Capture Full Screen. You need to select one according to your requirement. Specify the region in the case and then click on the button.
Step 4: Advanced Screen Recorder will grab the screenshot and then save it.
Step 5: You can find the screenshot under the Recordings section.
Q1. Is Advanced Screen Recorder safe?
Yes, Advanced Screen Recorder is a very safe tool as it comes from an authentic software company.
Q2. Is The Advanced Screen Recorder worth it?
Advanced Screen Recorder is worth giving a shot if you often find yourself capturing screen on your Windows PC. It is available to be used for Windows 11, 10, 8.1, 8, and 7. It will easily record, webcam, microphone, system audio, and mouse cursor for your videos.
Q3. What is a free alternative to Advanced Screen Recorder?
There are several screen recording software available for Windows PC, you can check out the list of the best screen recording software for Windows PC.
Q4. How long can you record with Advanced Screen Recorder?
There is no limit on the time of recording with the registered version of Advanced Screen Recorder. However, once the Premium trial version is over, using the free version you can record videos with a 10-minute limit and a watermark.
Advanced Screen Recorder can be used by home users as well as professionals. As it comes with all the necessary tools and features required in the best screen recording software. The range of options from full screen, single window, specific region as a screen source for recording makes it one of the best screen recorders for PC. You can easily add your watermark to personalize your videos, edit the settings according to your usage.
Advanced Screen Recorder works as a great game recording software with the facility to record the screen along with the webcam overlay. You can record your videos and share them online with your friends. Or use this feature to record tutorials, help guide educational videos, etc. It is easily the best screen recording tool according to us with the range of video quality it offers with 4k and HD recordings.
We hope this Advanced Screen Recorder review will help you in finding out all about the best screen recording tool for Windows PC. We look forward to your comments to know more about your opinion on this blog post. For more such reviews on Windows software, keep visiting Top10PCSoftware and also follow us on Twitter, Facebook, Pinterest, and Flipboard for regular updates.