Pros:
- Comes inbuilt with Windows 11
- Equipped with various editing features
- Comes packed with a screen recorder.
- Customizable video templates
Cons:
- Exporting videos at times is a little time-consuming
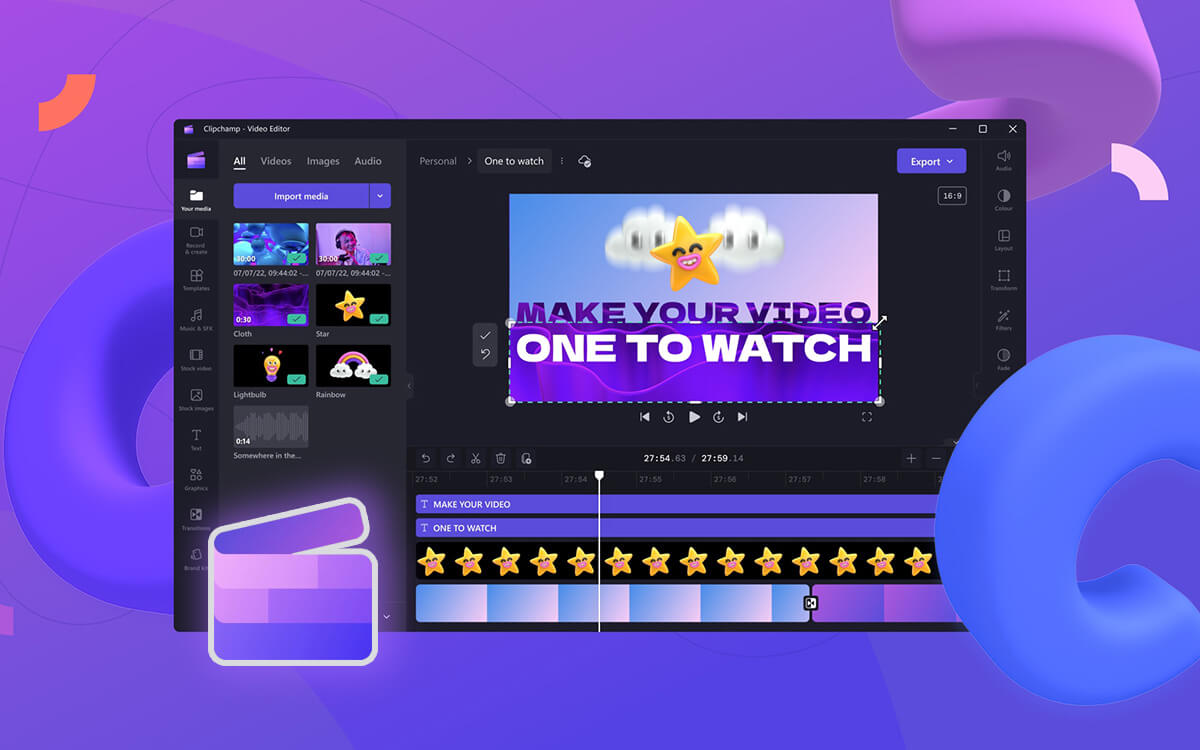

You have several raw clips fresh out of your smartphone or camera. You transferred them to your Windows PC and are tasked with arranging them into a spectacular video. What you need next is video editing software to edit the clips. In this post, we are going to review Clipchamp video editor, the inbuilt free video editing app for Windows.
 Clipchamp is a video editing software that comes straight from Microsoft. It lets you edit sections of a video, cut them in a logical sequence, and add effects. It offers an easy-to-use interface, several templates and effects that can get you started. It also has an easy-to-manage timeline and many other great aspects.
What’s special is that, though Clipchamp was acquired by Microsoft in 2021, with Windows 11 2022 update, it has become the operating system’s native video editor.
Initially, it was a browser-based online editor, after the Windows 11 2022 update, it has become Windows’ native video editor.
During the course of this post, you’ll find out that while Clipchamp fairs up pretty well as a free video editor, it lacks some features that some other alternative video editing software have.
Clipchamp is a video editing software that comes straight from Microsoft. It lets you edit sections of a video, cut them in a logical sequence, and add effects. It offers an easy-to-use interface, several templates and effects that can get you started. It also has an easy-to-manage timeline and many other great aspects.
What’s special is that, though Clipchamp was acquired by Microsoft in 2021, with Windows 11 2022 update, it has become the operating system’s native video editor.
Initially, it was a browser-based online editor, after the Windows 11 2022 update, it has become Windows’ native video editor.
During the course of this post, you’ll find out that while Clipchamp fairs up pretty well as a free video editor, it lacks some features that some other alternative video editing software have.
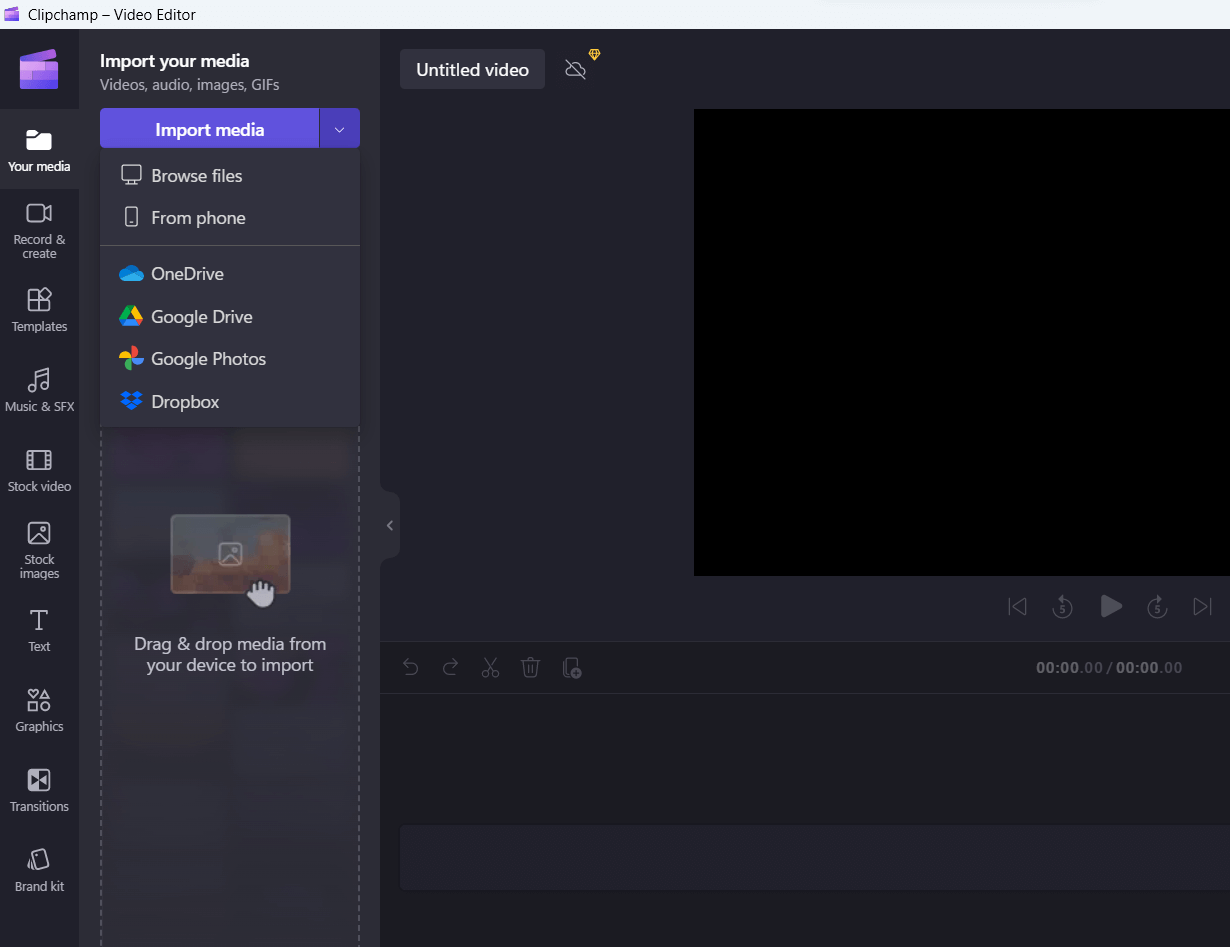
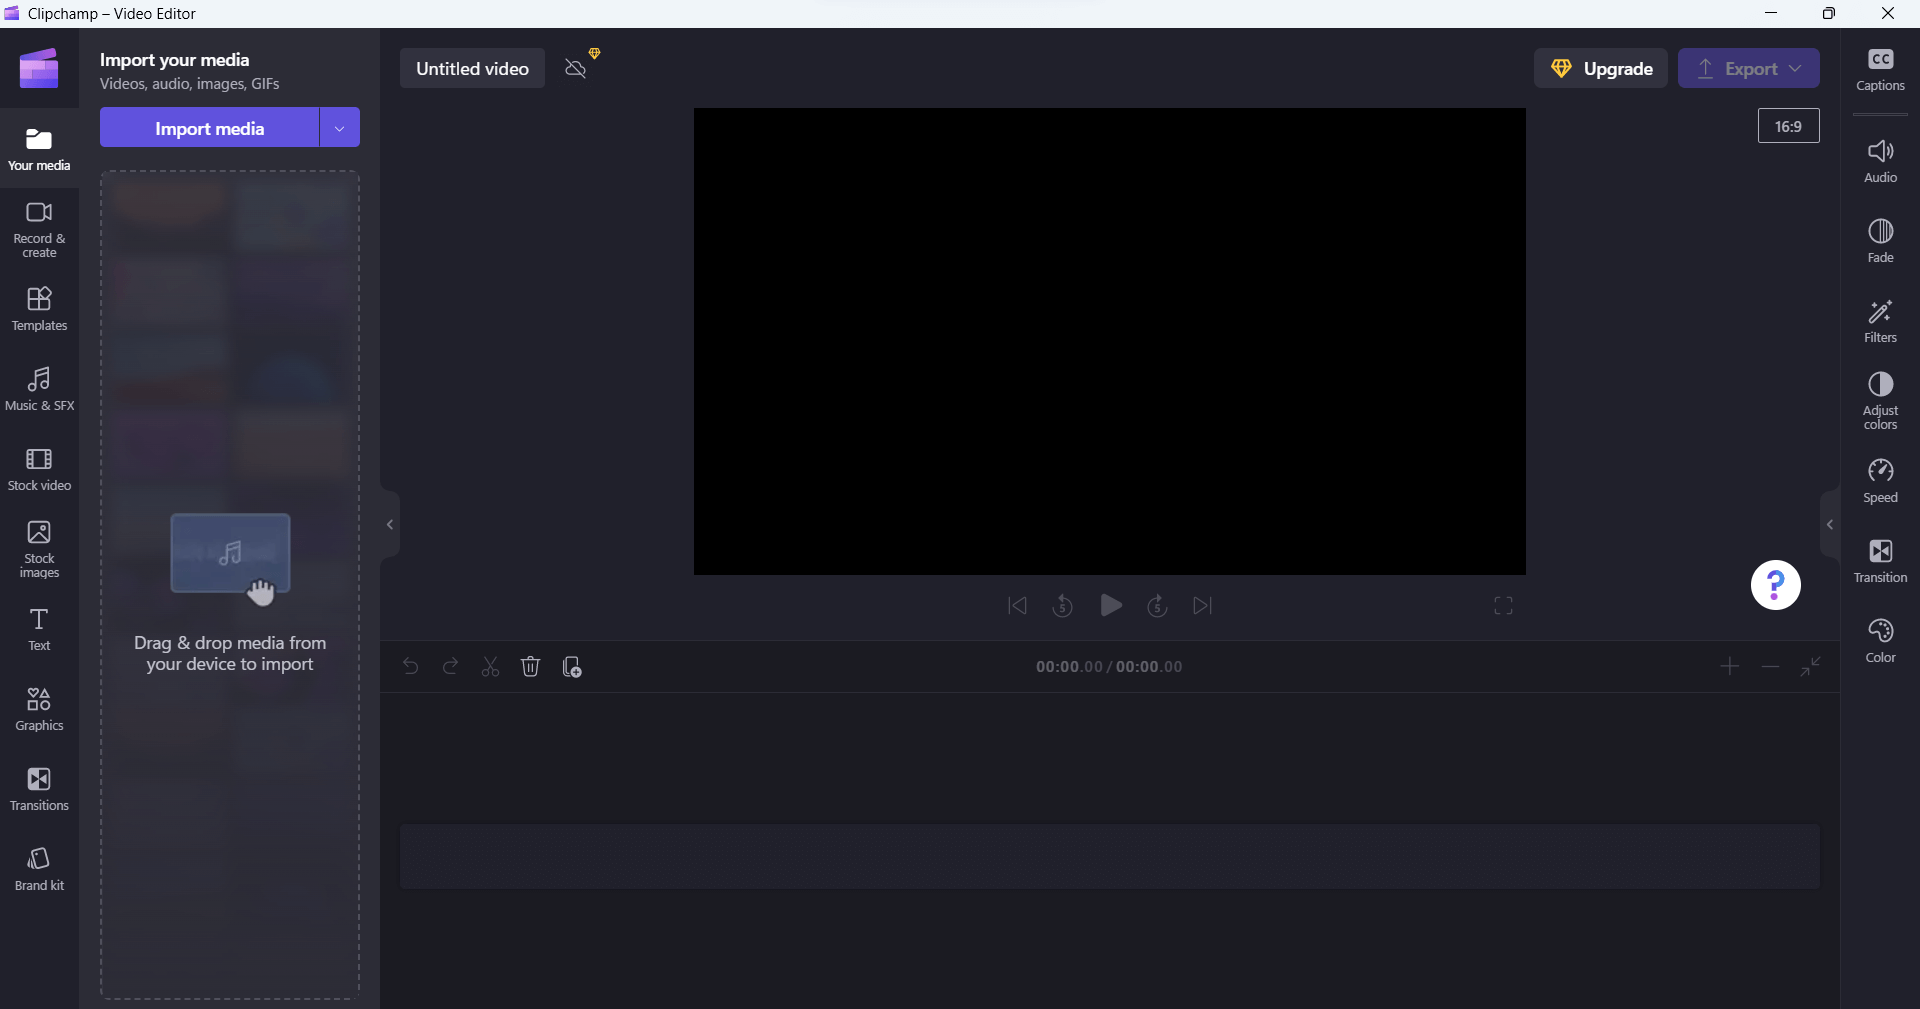 As can be seen from the screenshot -
From the left-hand side, here are the things you can do. You can import your media or choose from text, effects, transitions, audio effects, and various others. You can directly drag and drop a media file from a location on your computer into the interface, quite like any other video editing software.
The middle area or the timeline is where you can drag and drop media files (audio and video) and templates. We liked how the timeline prompts you to add categories of elements. By clicking on these prompts, you can further get access to custom audio and text templates.
From the right-hand side, you can add captions, tone down or up the volume, apply fade in and out effect, adjust colors, change the overall speed and apply several other filters.
Each time when you select an option from the right-hand or the left-hand pane, you can further collapse the subsequent area by clicking on the “<” or”>”
As can be seen from the screenshot -
From the left-hand side, here are the things you can do. You can import your media or choose from text, effects, transitions, audio effects, and various others. You can directly drag and drop a media file from a location on your computer into the interface, quite like any other video editing software.
The middle area or the timeline is where you can drag and drop media files (audio and video) and templates. We liked how the timeline prompts you to add categories of elements. By clicking on these prompts, you can further get access to custom audio and text templates.
From the right-hand side, you can add captions, tone down or up the volume, apply fade in and out effect, adjust colors, change the overall speed and apply several other filters.
Each time when you select an option from the right-hand or the left-hand pane, you can further collapse the subsequent area by clicking on the “<” or”>”
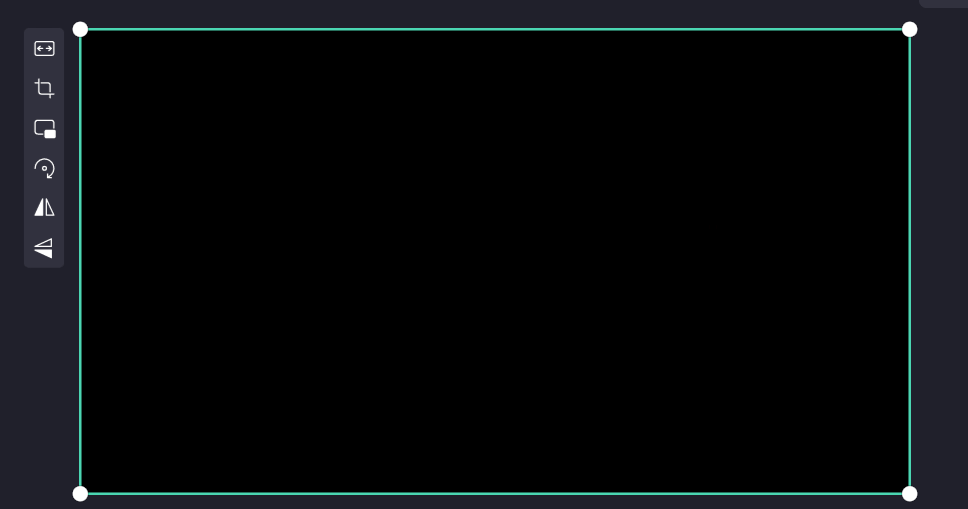 Here you will find options for fit/ fill, crop, picture-in-picture mode, rotate, and flip vertical/ horizontal. When you click on the Crop option, handles appear on all sides using which you can crop the clip exactly to your liking.
Let’s get down to another important feature and that is trimming unnecessary clips -
It could be that you do not want the whole clip and wish to work with just some parts. For this, you can move the marker or play head to the exact portion from where you want the clip to split, right-click and then select Split as shown below -
Here you will find options for fit/ fill, crop, picture-in-picture mode, rotate, and flip vertical/ horizontal. When you click on the Crop option, handles appear on all sides using which you can crop the clip exactly to your liking.
Let’s get down to another important feature and that is trimming unnecessary clips -
It could be that you do not want the whole clip and wish to work with just some parts. For this, you can move the marker or play head to the exact portion from where you want the clip to split, right-click and then select Split as shown below -
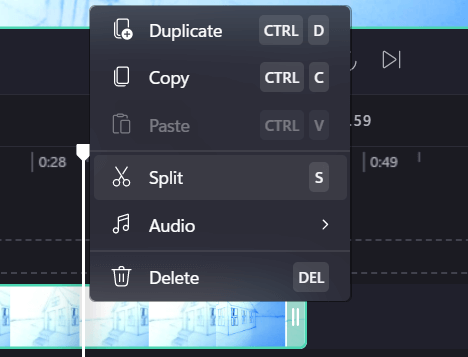 See the II in green? You can drag it back and forth to trim your clip. We recommend that while you do this play your clip once so that you get an exact idea if you have trimmed or split the video clip correctly.
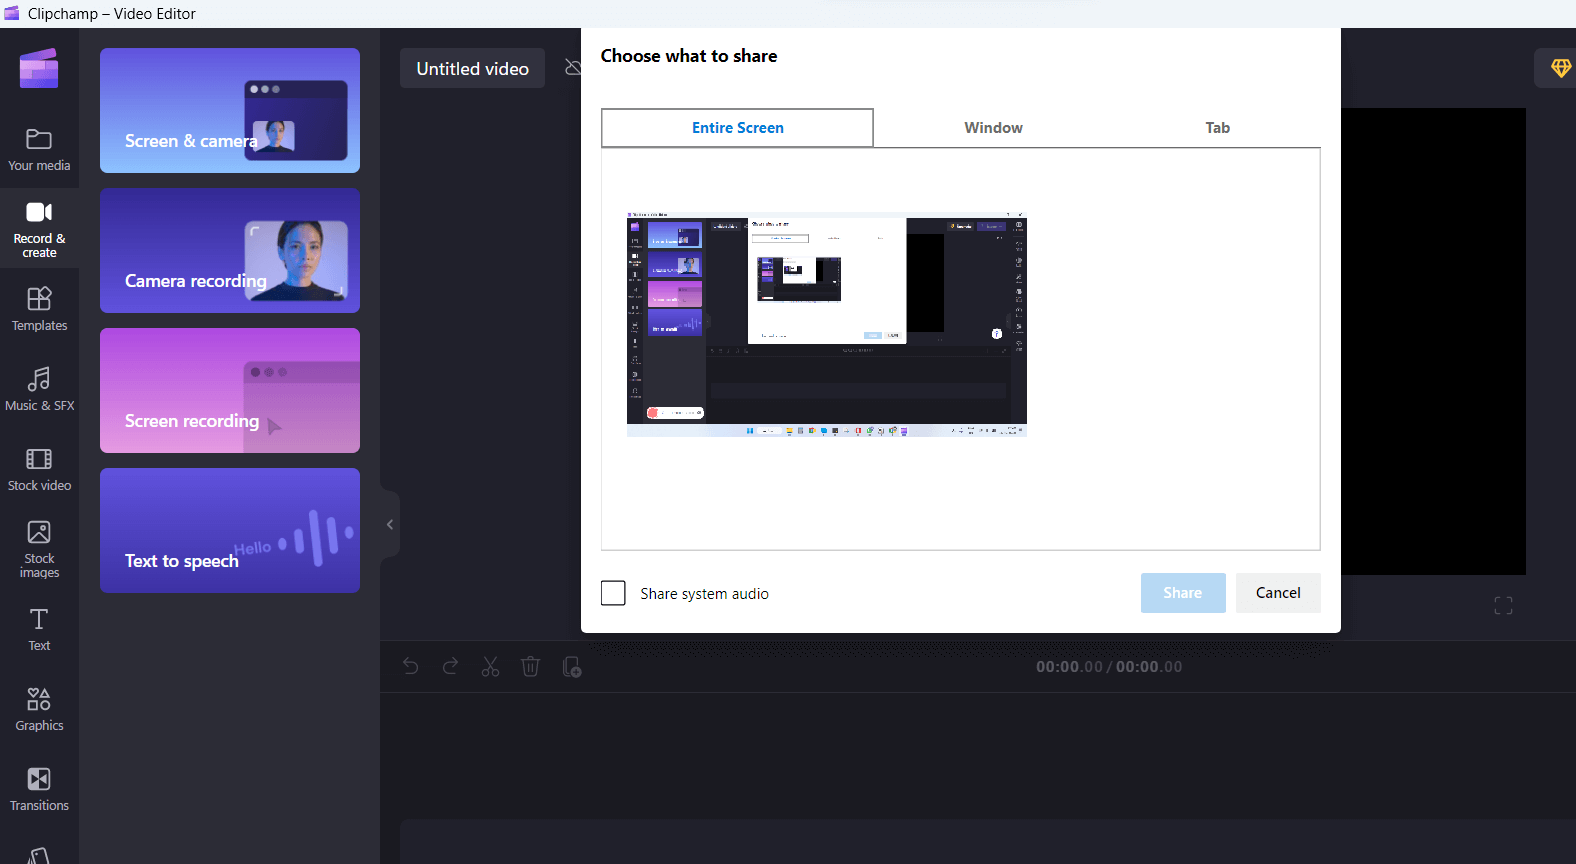 This is a feature that not even some of the best video editing software have to offer. Although, if screen recording is your ultimate goal, you can opt for a more feature-rich screen recording software like TweakShot Screen Recorder.
Another reason why you may want to invest in a screen recording tool is that Clipchamp restricts you to a limit of 30 minutes. Here, you may not be able to select the quality, output format, etc.
This is a feature that not even some of the best video editing software have to offer. Although, if screen recording is your ultimate goal, you can opt for a more feature-rich screen recording software like TweakShot Screen Recorder.
Another reason why you may want to invest in a screen recording tool is that Clipchamp restricts you to a limit of 30 minutes. Here, you may not be able to select the quality, output format, etc.
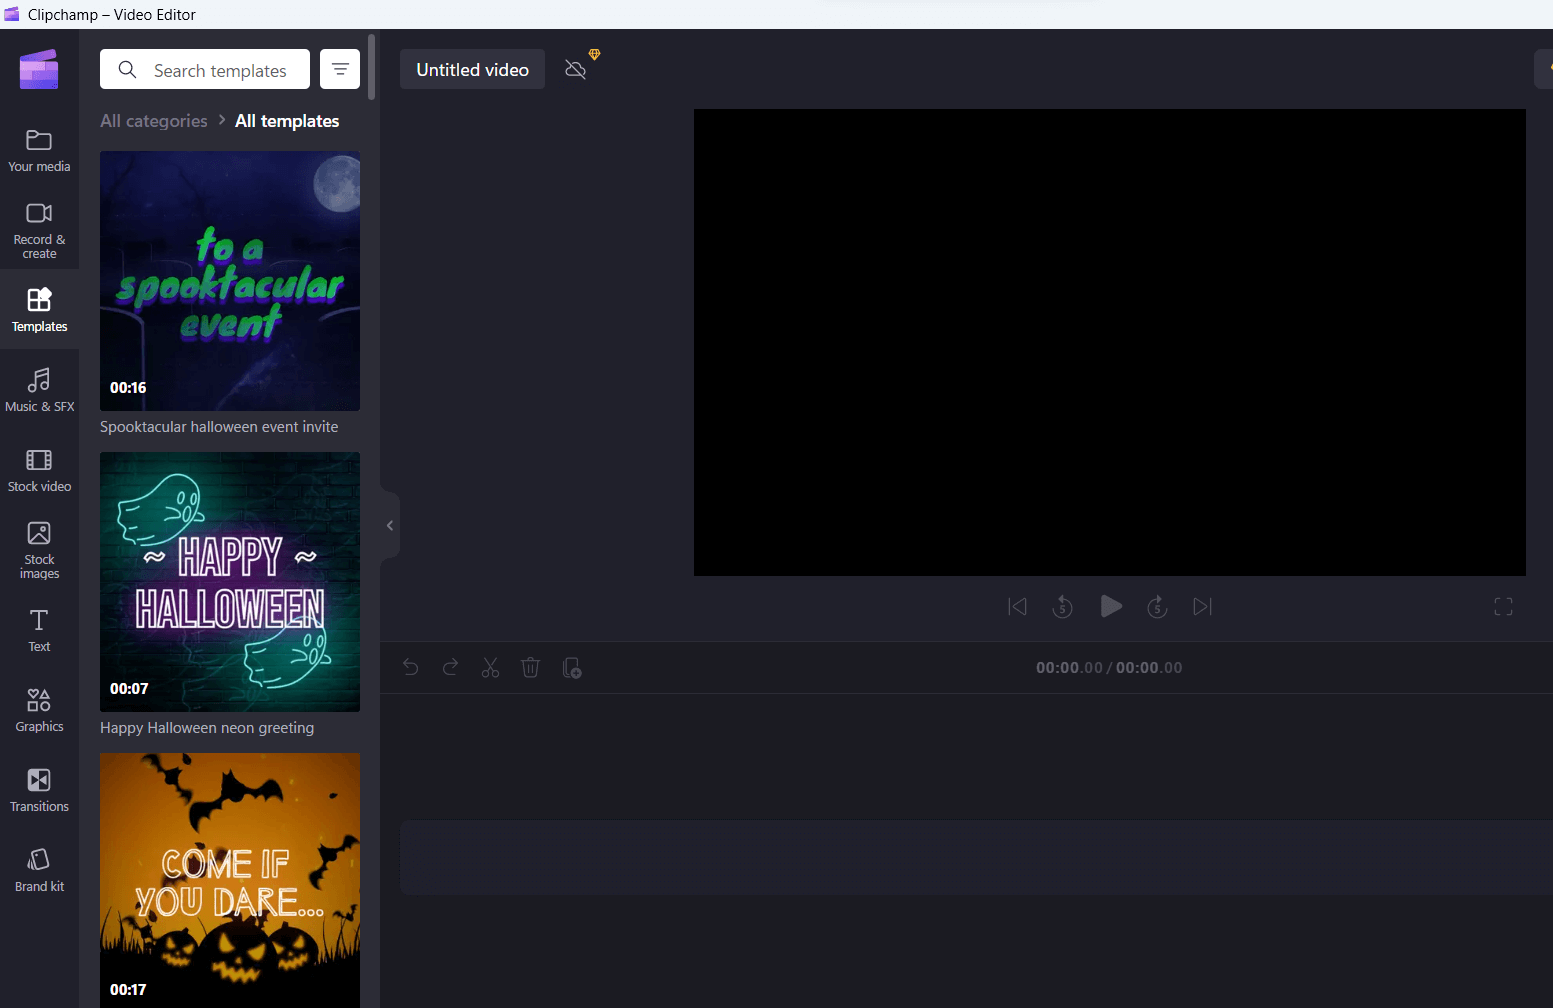 You can further customize the templates with text, background music, videos, and other elements. There are templates for every occasion like intro/ outro, gaming, specific events, etc. There are even some which are specific for social media platforms such as Instagram, YouTube, etc.
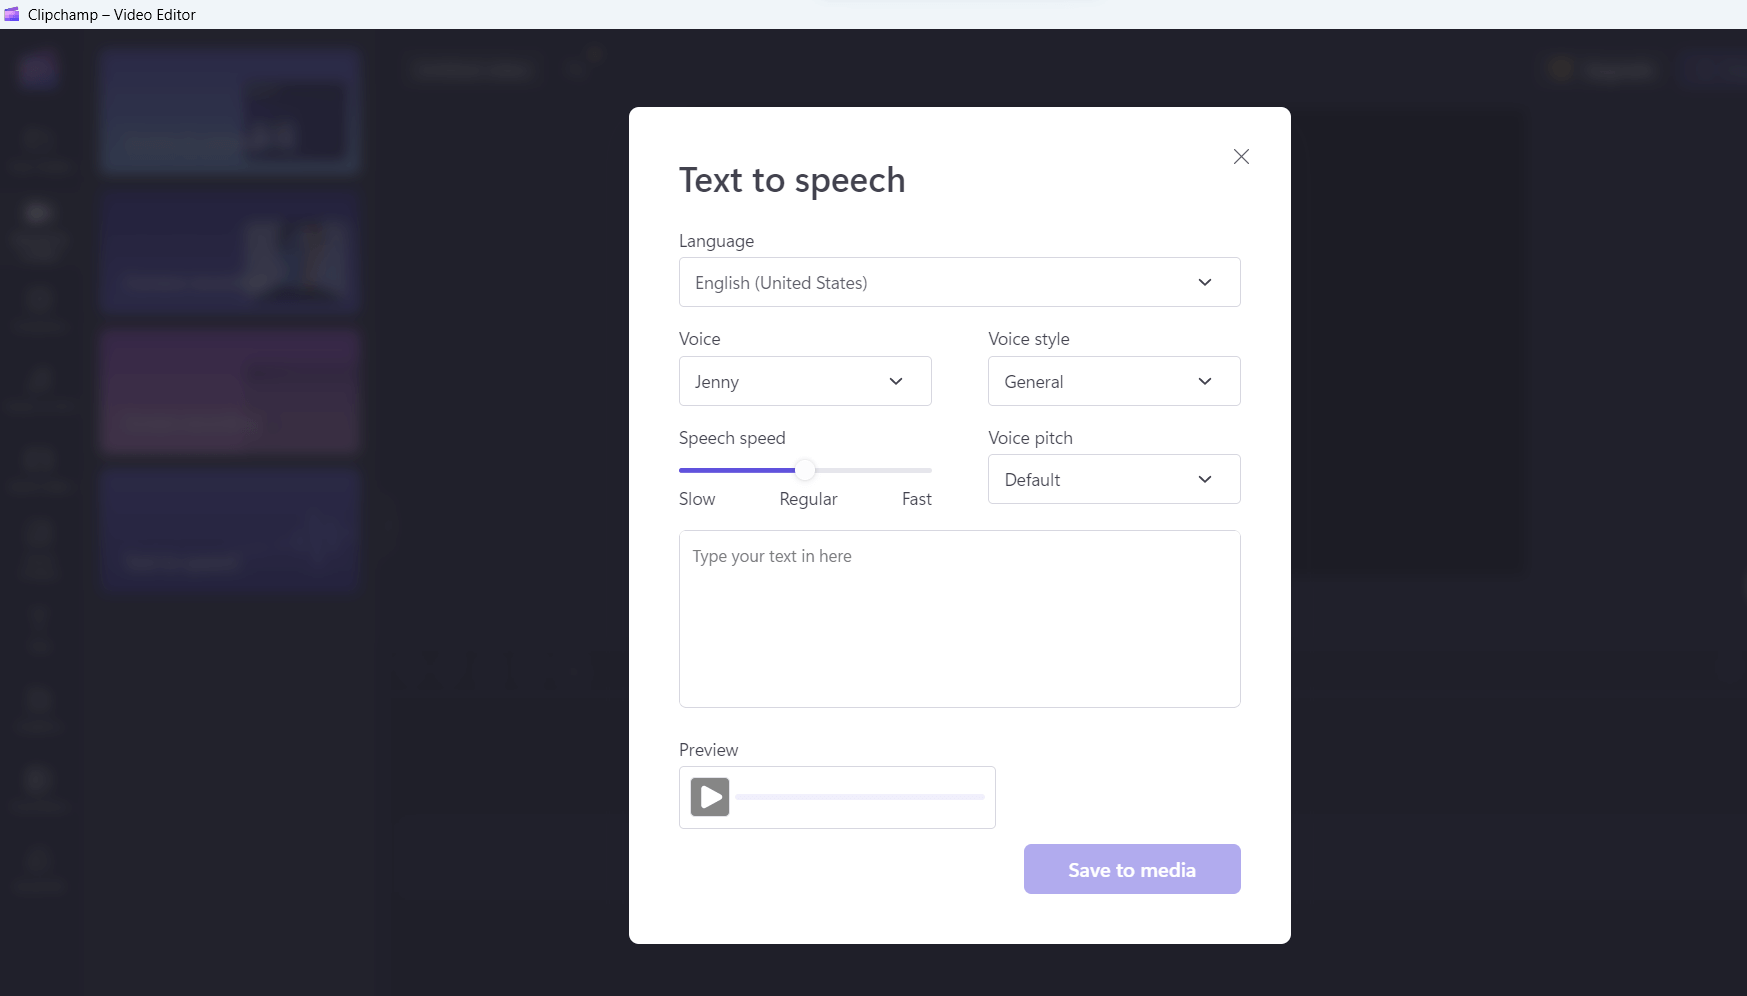
 Here, it would have been better if a few audio editing tools such as noise removal and a few other tools were given.
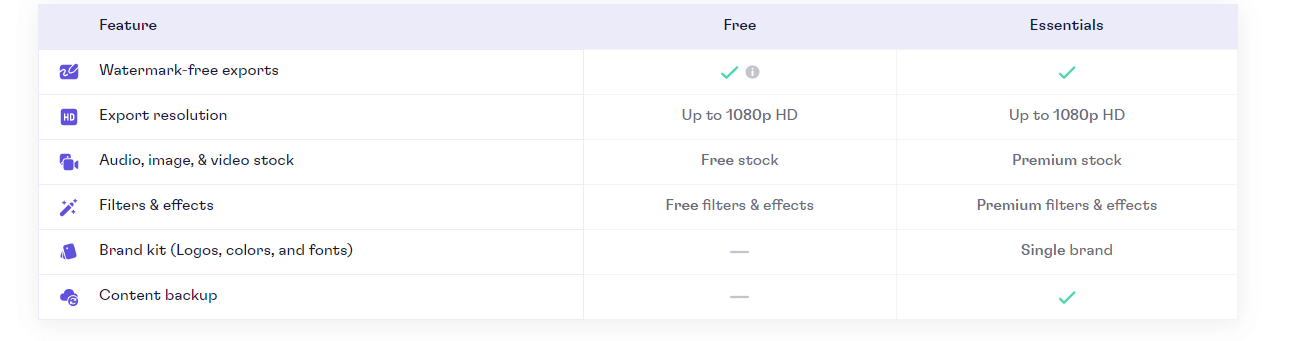
| Variant Name | Price | |
| Essentials | $11.99 | Monthly |
| Essentials | $119.99 | Yearly |
 4. You can even drag and drop files directly onto the interface.
5. To move the clip back and forth, hover over your mouse onto the clip and when the hand appears, drag the clip to move it back and forth. If you want to trim the video, click on the two parallel lines II to trim or re-expand the video.
6. You can drag and drop the various templates, stock videos, effects, and other elements that you can access from the left-hand side. As for adding color correction, captions, adjusting colors, increasing volume, and changing the color scheme, select an appropriate option from the right-hand side.
7. Once you have created a video, click on the Export dropdown and select a resolution.
4. You can even drag and drop files directly onto the interface.
5. To move the clip back and forth, hover over your mouse onto the clip and when the hand appears, drag the clip to move it back and forth. If you want to trim the video, click on the two parallel lines II to trim or re-expand the video.
6. You can drag and drop the various templates, stock videos, effects, and other elements that you can access from the left-hand side. As for adding color correction, captions, adjusting colors, increasing volume, and changing the color scheme, select an appropriate option from the right-hand side.
7. Once you have created a video, click on the Export dropdown and select a resolution.