Pros:
- High level of customizability.
- Exceptional motion graphics.
- Professional keyframe management.
- You can install plugins to make your workflow faster
Cons:
- Consumes high computer resources

Want to add stunning visual effects to your footage? Adobe After Effects is probably one of the most amazing tools you can consider for creating stunning transitions, intros, and other effects for your videos in no time. In our today’s Adobe After Effects review we will have a look at all its features, pricing, system requirements, and all the other aspects. You can further decide whether it’s worth your time or not!
Program Files\Adobe\Adobe After Effects\Support Files.
It also comes with lots of learning material & graphical elements, using which amateur video editors and professionals can take advantage from.
Even though editing with After Effects is fun, for someone who has just started out with video editing, the tool may come across as a little overwhelming. Alternatively, beginners users can start with an easier tool like Clipchamp video editor that comes pre-installed with a lot of Windows PCs & laptops.
 There are also “Workspaces” that are named after different tasks you might be trying to complete. For example, you may have a dedicated workspace if you are working with a lot of text. In that case, you would want to work with a “Text Workspace”. But, for the most part, you can select the “Standard” workspace.
 Once you have created visual effects, you can even import or export assets from Photoshop, Premiere Pro, Illustrator, and other such applications. All in all, Adobe After Effects can help you with everything in the post-production stage.
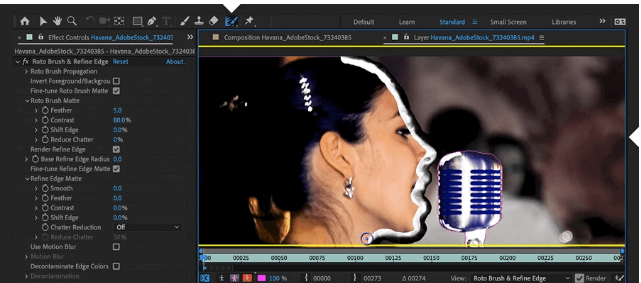 One technique that is very popular among the users of Adobe After Effects is rotoscoping. It helps remove elements from a video so that you can place them in different live-action footage. It is a compositing technique that is frequently used in movies.
Using the “Roto Brush” Tool you can automatically select objects that you want to remove. You can further increase or decrease the softness of the matte edge, use the Pen tool to outline objects with sharp lines, and ensure that the mask fits the object correctly frame by frame.
To avoid manually editing between keyframes, you can mask objects and the content-aware fill will replace them with new image details taken from other frames.
One technique that is very popular among the users of Adobe After Effects is rotoscoping. It helps remove elements from a video so that you can place them in different live-action footage. It is a compositing technique that is frequently used in movies.
Using the “Roto Brush” Tool you can automatically select objects that you want to remove. You can further increase or decrease the softness of the matte edge, use the Pen tool to outline objects with sharp lines, and ensure that the mask fits the object correctly frame by frame.
To avoid manually editing between keyframes, you can mask objects and the content-aware fill will replace them with new image details taken from other frames.
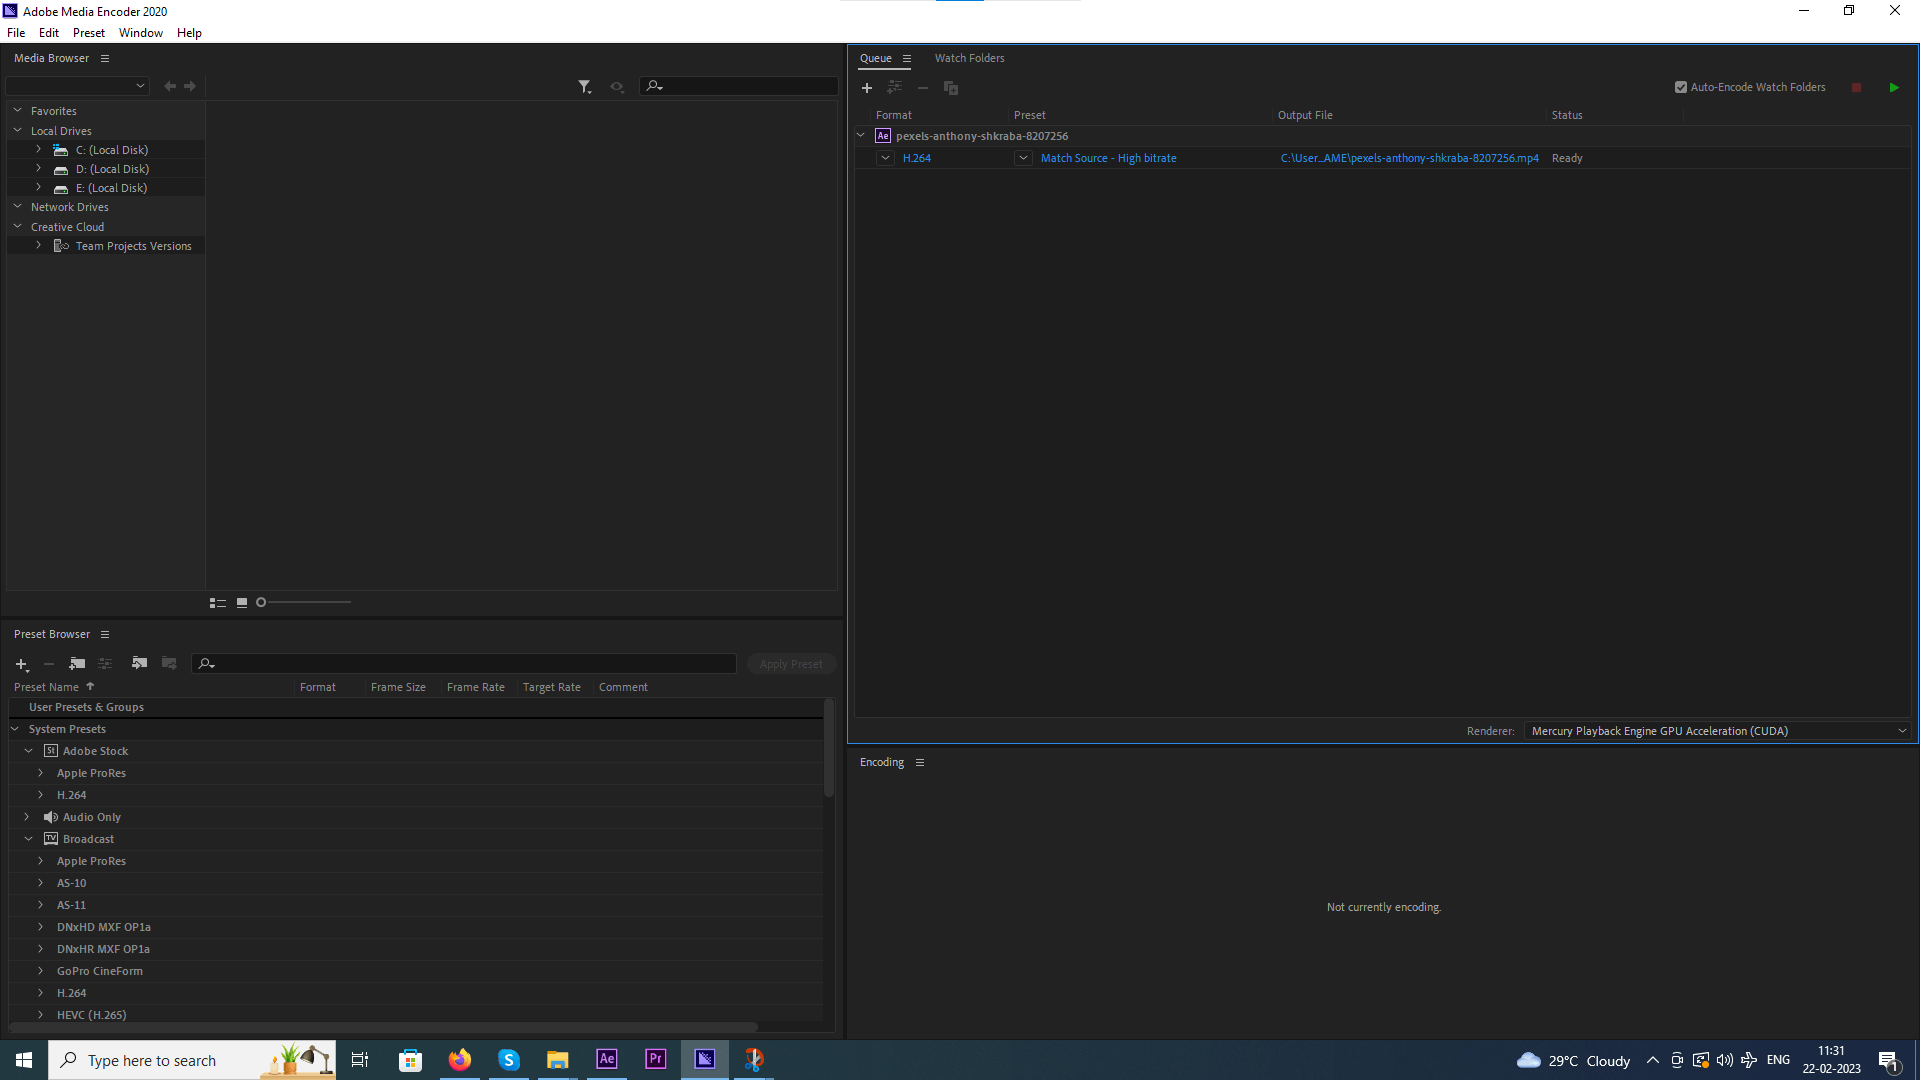 You can keep working on the project in your primary After Effects application, while the compositions will keep rendering in another application. To send a project to the media encoder, click on File > Export > Add to Media Encoder Queue. You can also do the same via the “Composition” menu as well. Alternatively, you can also use the Ctrl + Alt + M.
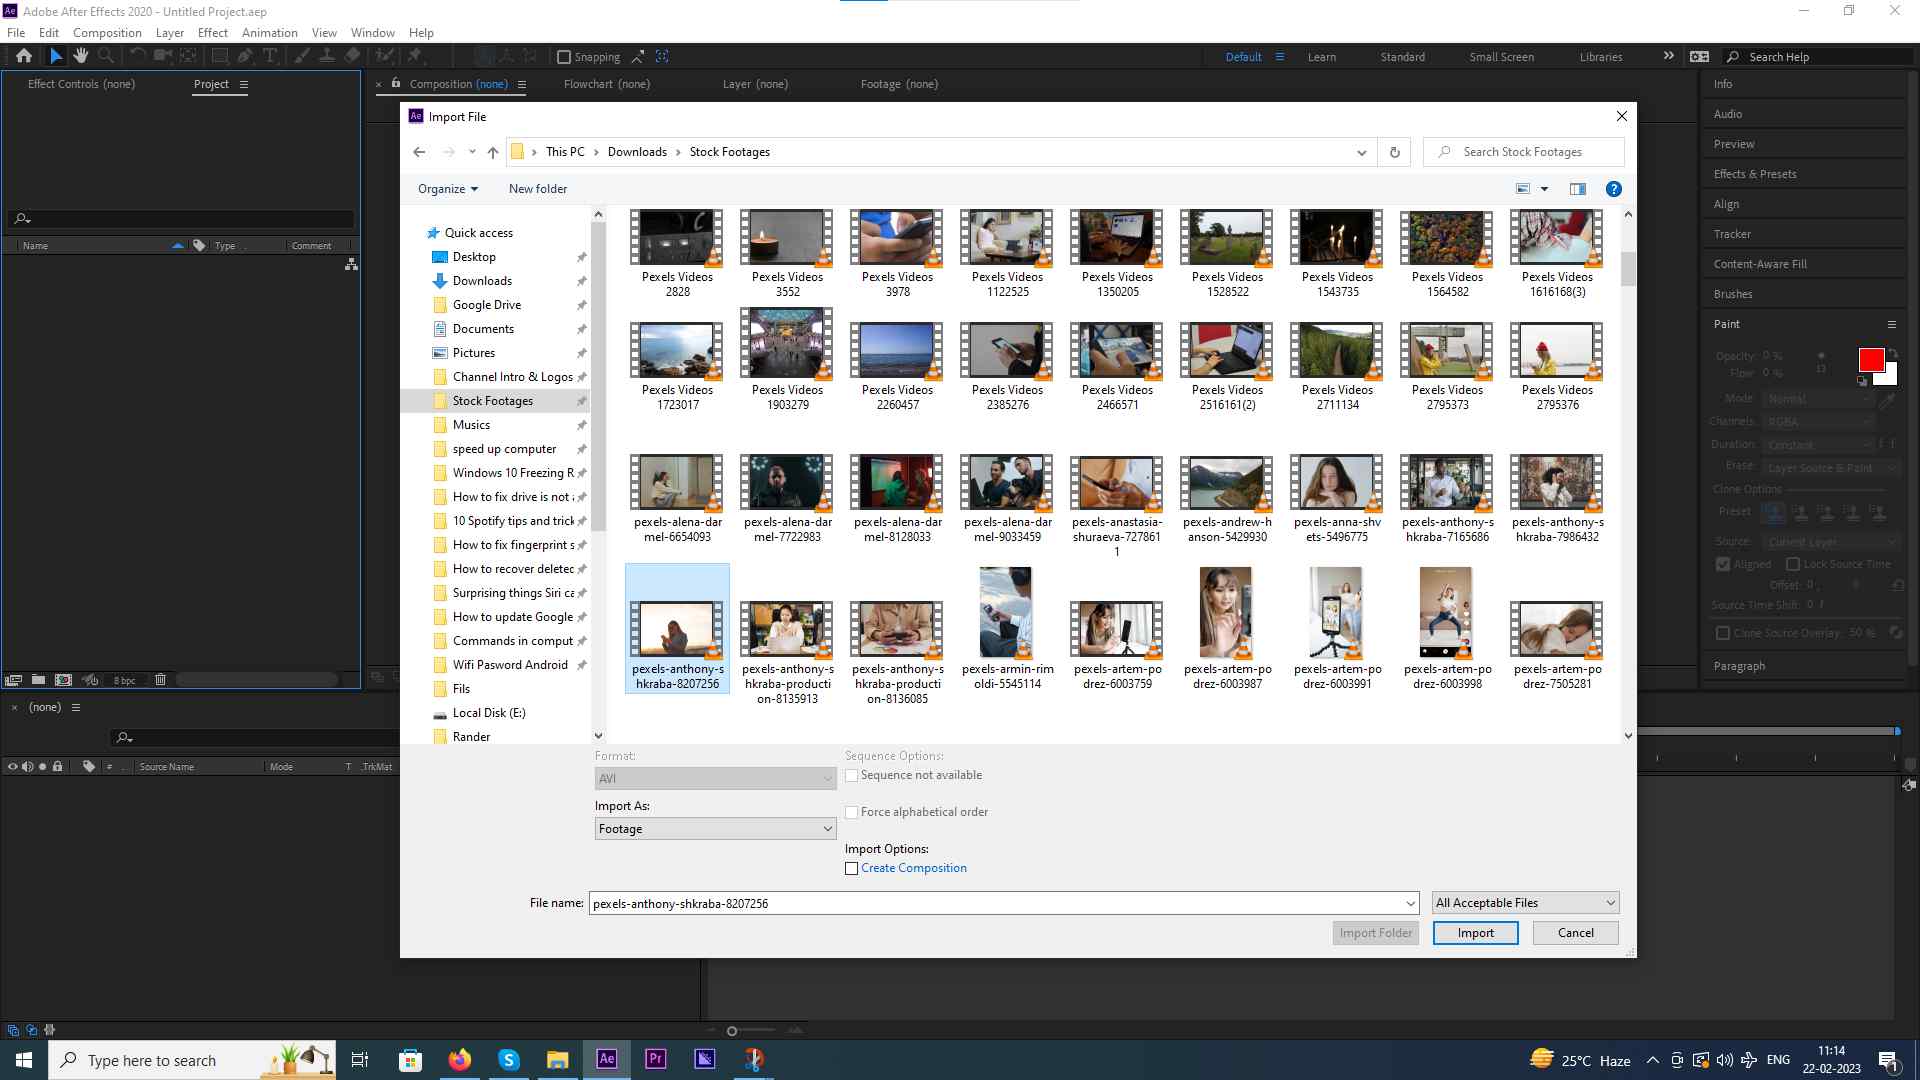
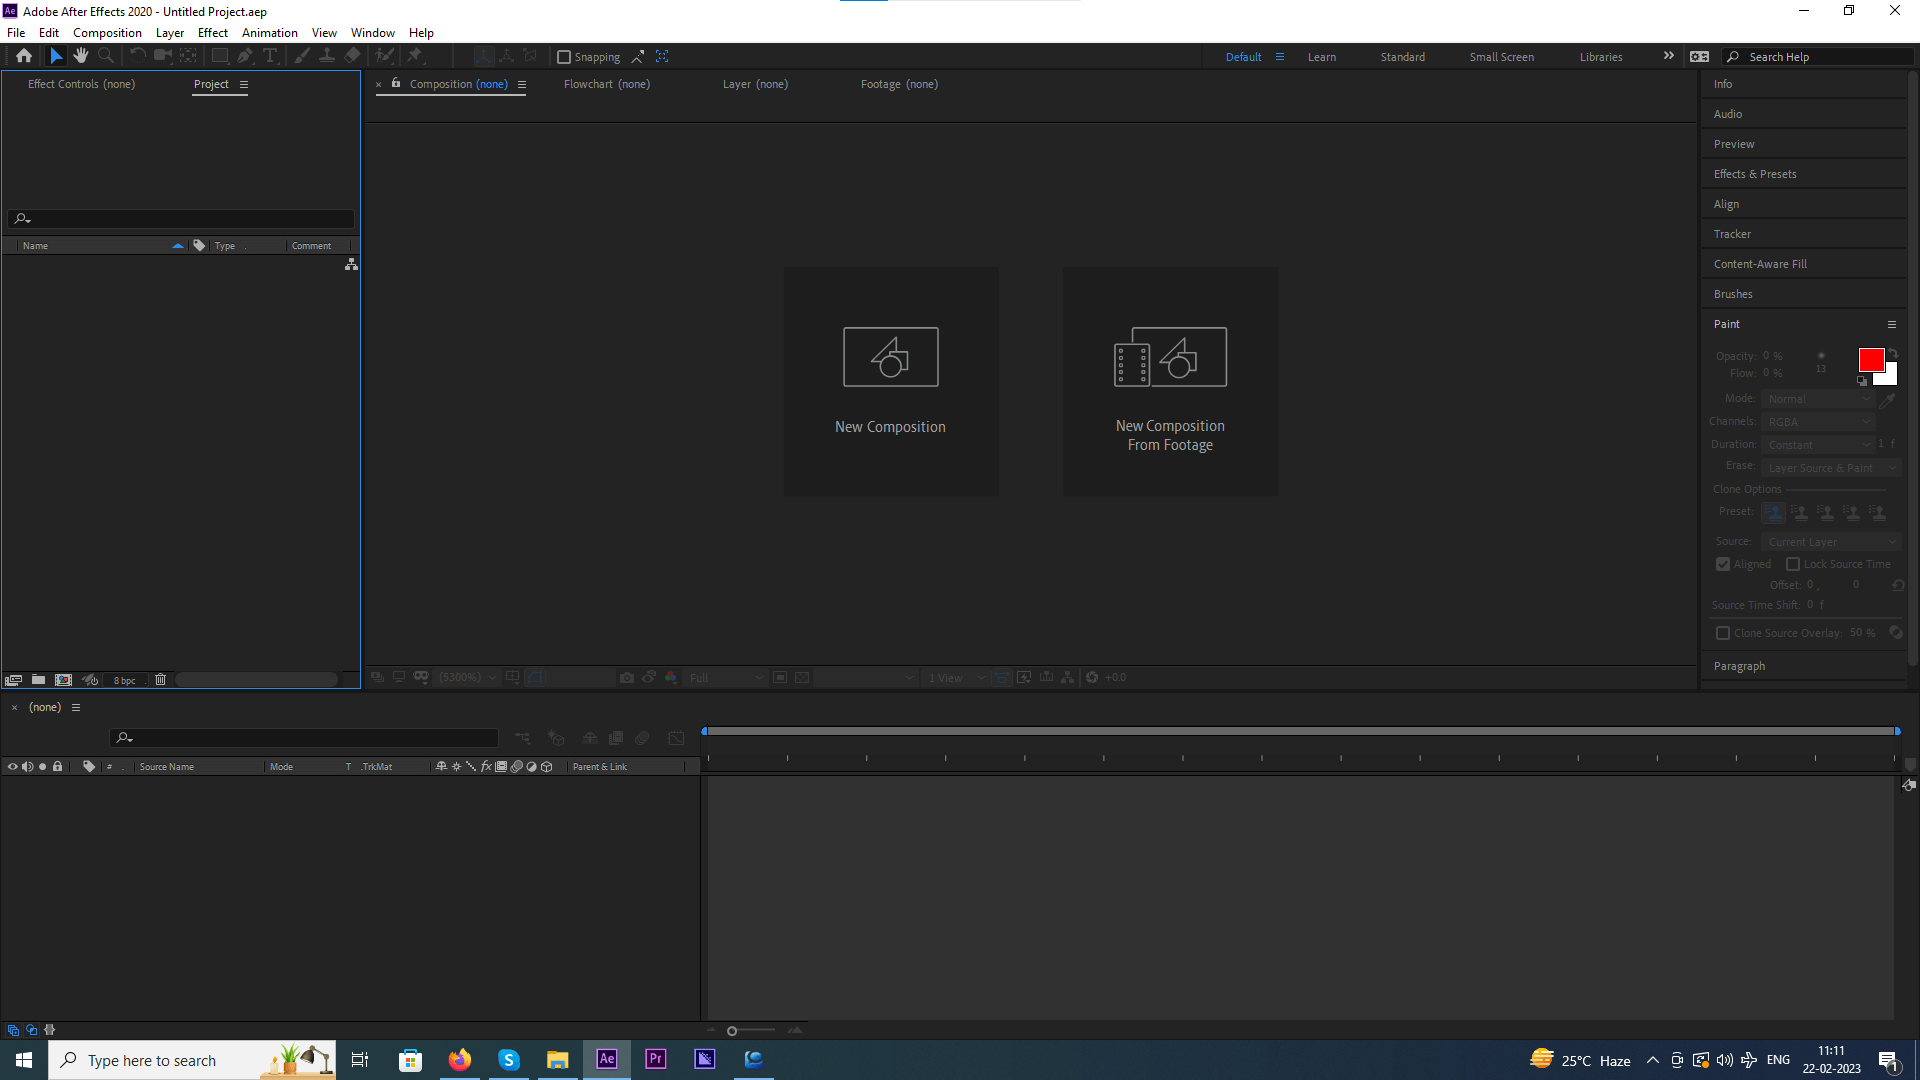
 3. Click on the Create A New Composition button at the bottom. To begin with, you can go with the default Composition Settings.
 4. Now from the left, drag and drop the footage and elements that you need for your Composition panel.
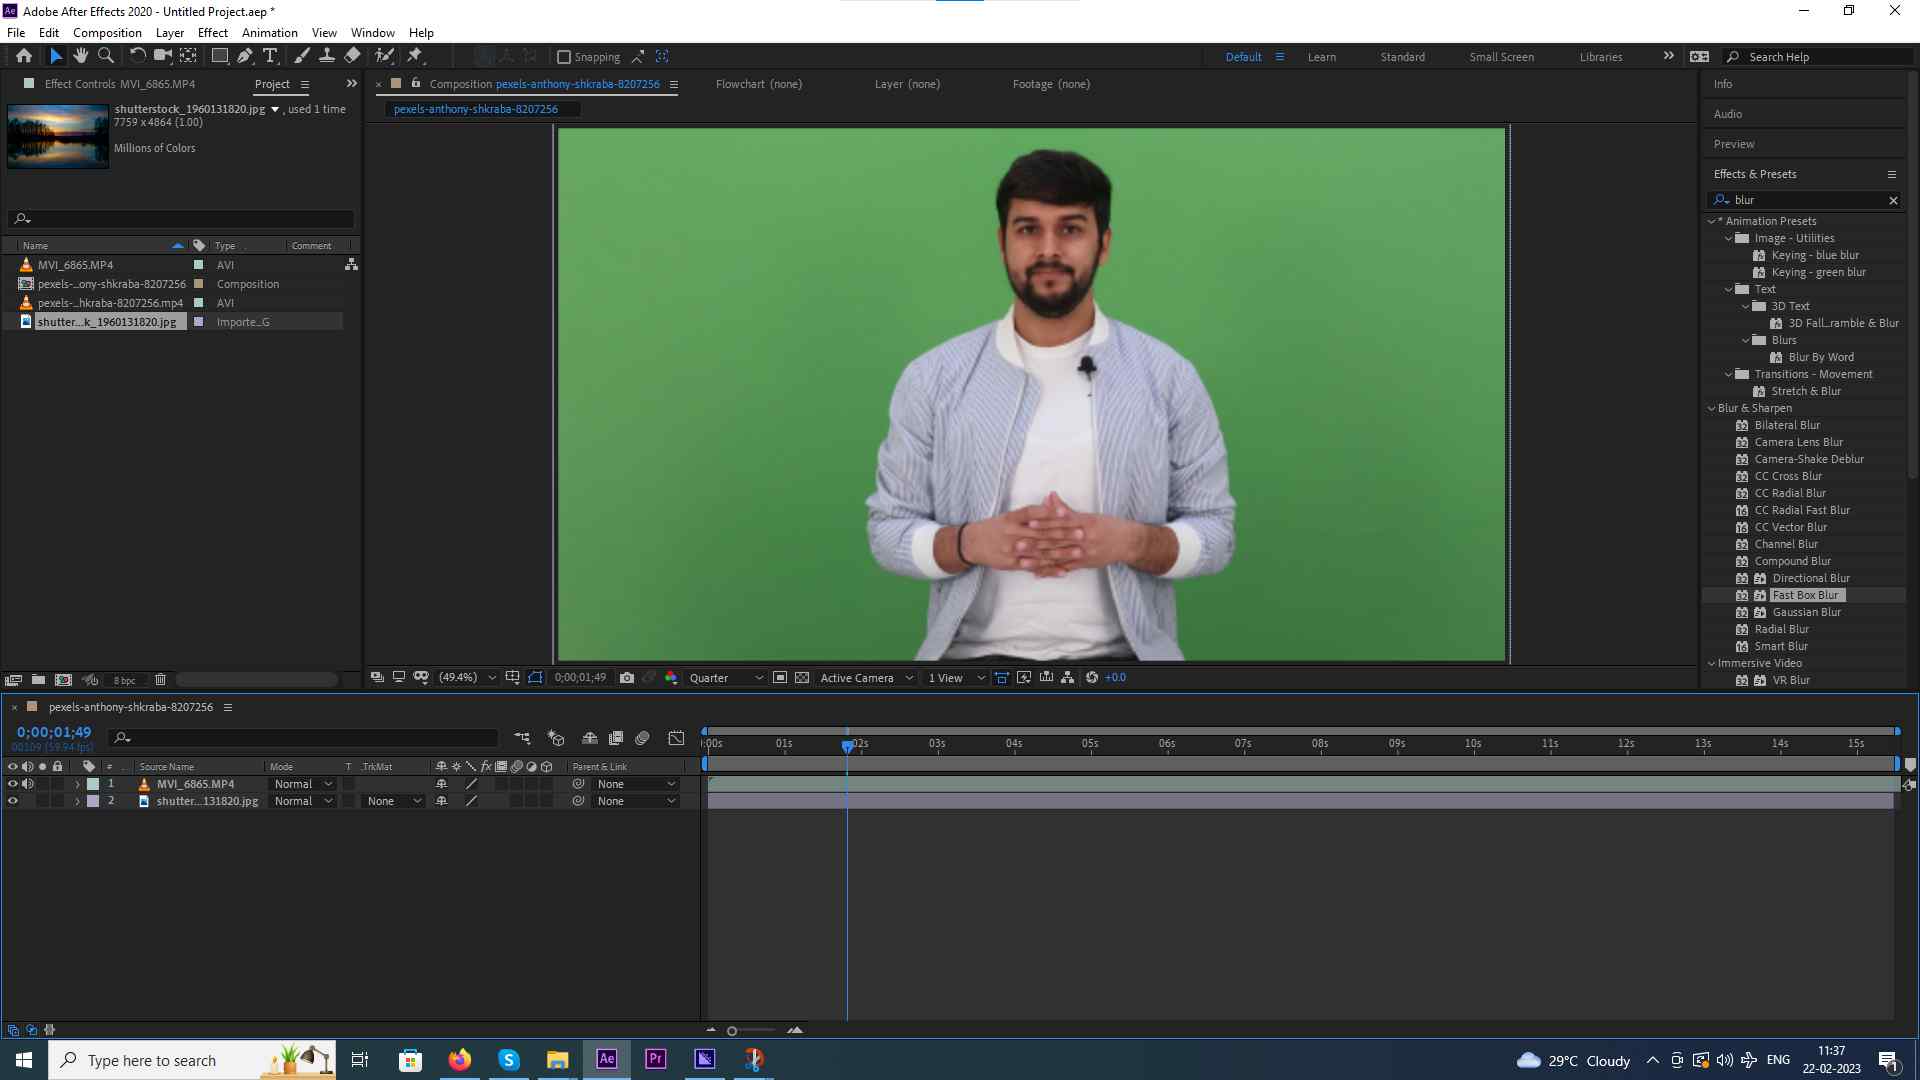
5. You will then be displayed layers of your composition in the Timeline. Click on the arrow towards the left of the layer name and you can see various effects that you can apply.
6. You can drag a layer above or beneath another layer based on visibility. For instance, the layer above is visible on the top.
7. On the right, you have the duration bar where you can access the timeframe of the footage quite like any other video editing tool.
8. To play the video, simply press the spacebar.
9. You can even change the resolution so that you can preview your composition quickly in real-time.
4. Now from the left, drag and drop the footage and elements that you need for your Composition panel.
5. You will then be displayed layers of your composition in the Timeline. Click on the arrow towards the left of the layer name and you can see various effects that you can apply.
6. You can drag a layer above or beneath another layer based on visibility. For instance, the layer above is visible on the top.
7. On the right, you have the duration bar where you can access the timeframe of the footage quite like any other video editing tool.
8. To play the video, simply press the spacebar.
9. You can even change the resolution so that you can preview your composition quickly in real-time.